Building Wooden RC Model Sailboats: Two Projects by Nik Pirc
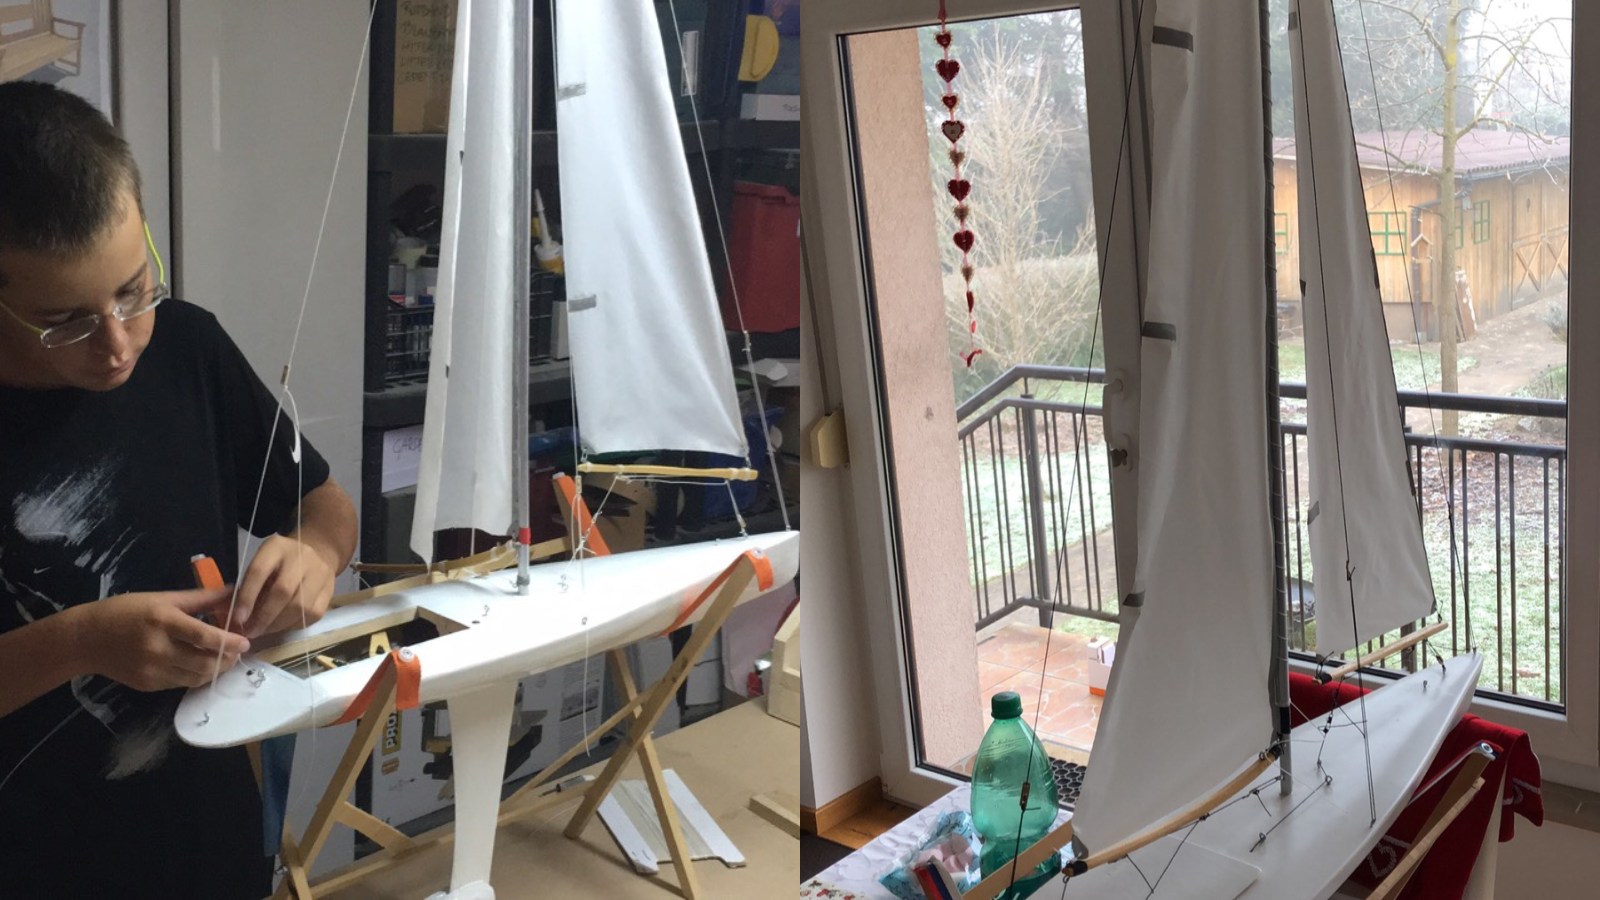
Two radio-controlled model sailboats, two stages of development and many hours of precise workshop work: the photographs in this article document how Nik Pirc expanded his model-making skills between 2016 and 2020. Nik was the main builder on both projects—from reading the plans and assembling the hull framework to installing the mechanics, finishing the surfaces and setting up the rigging.
This is not a complete set of construction instructions with binding dimensions. It is an authentic project record that also shows the work hidden inside the finished models—the details that determine strength, watertightness and reliable control.
Where woodworking meets engineering
An RC sailboat must be light, rigid, watertight and correctly balanced at the same time. Even small errors in the frames, keel or rudder can change its behaviour on the water. That is what makes the project so rewarding: woodworking, mechanics, electronics and sail trim all affect one another.
The first sailboat: from plan to hull
The first project was built during 2016 and 2017. It began with the construction plan and carefully prepared wooden parts. Before any glue is applied, the frames, longitudinal members and cut-outs need to fit together dry; later corrections add weight and can compromise symmetry.
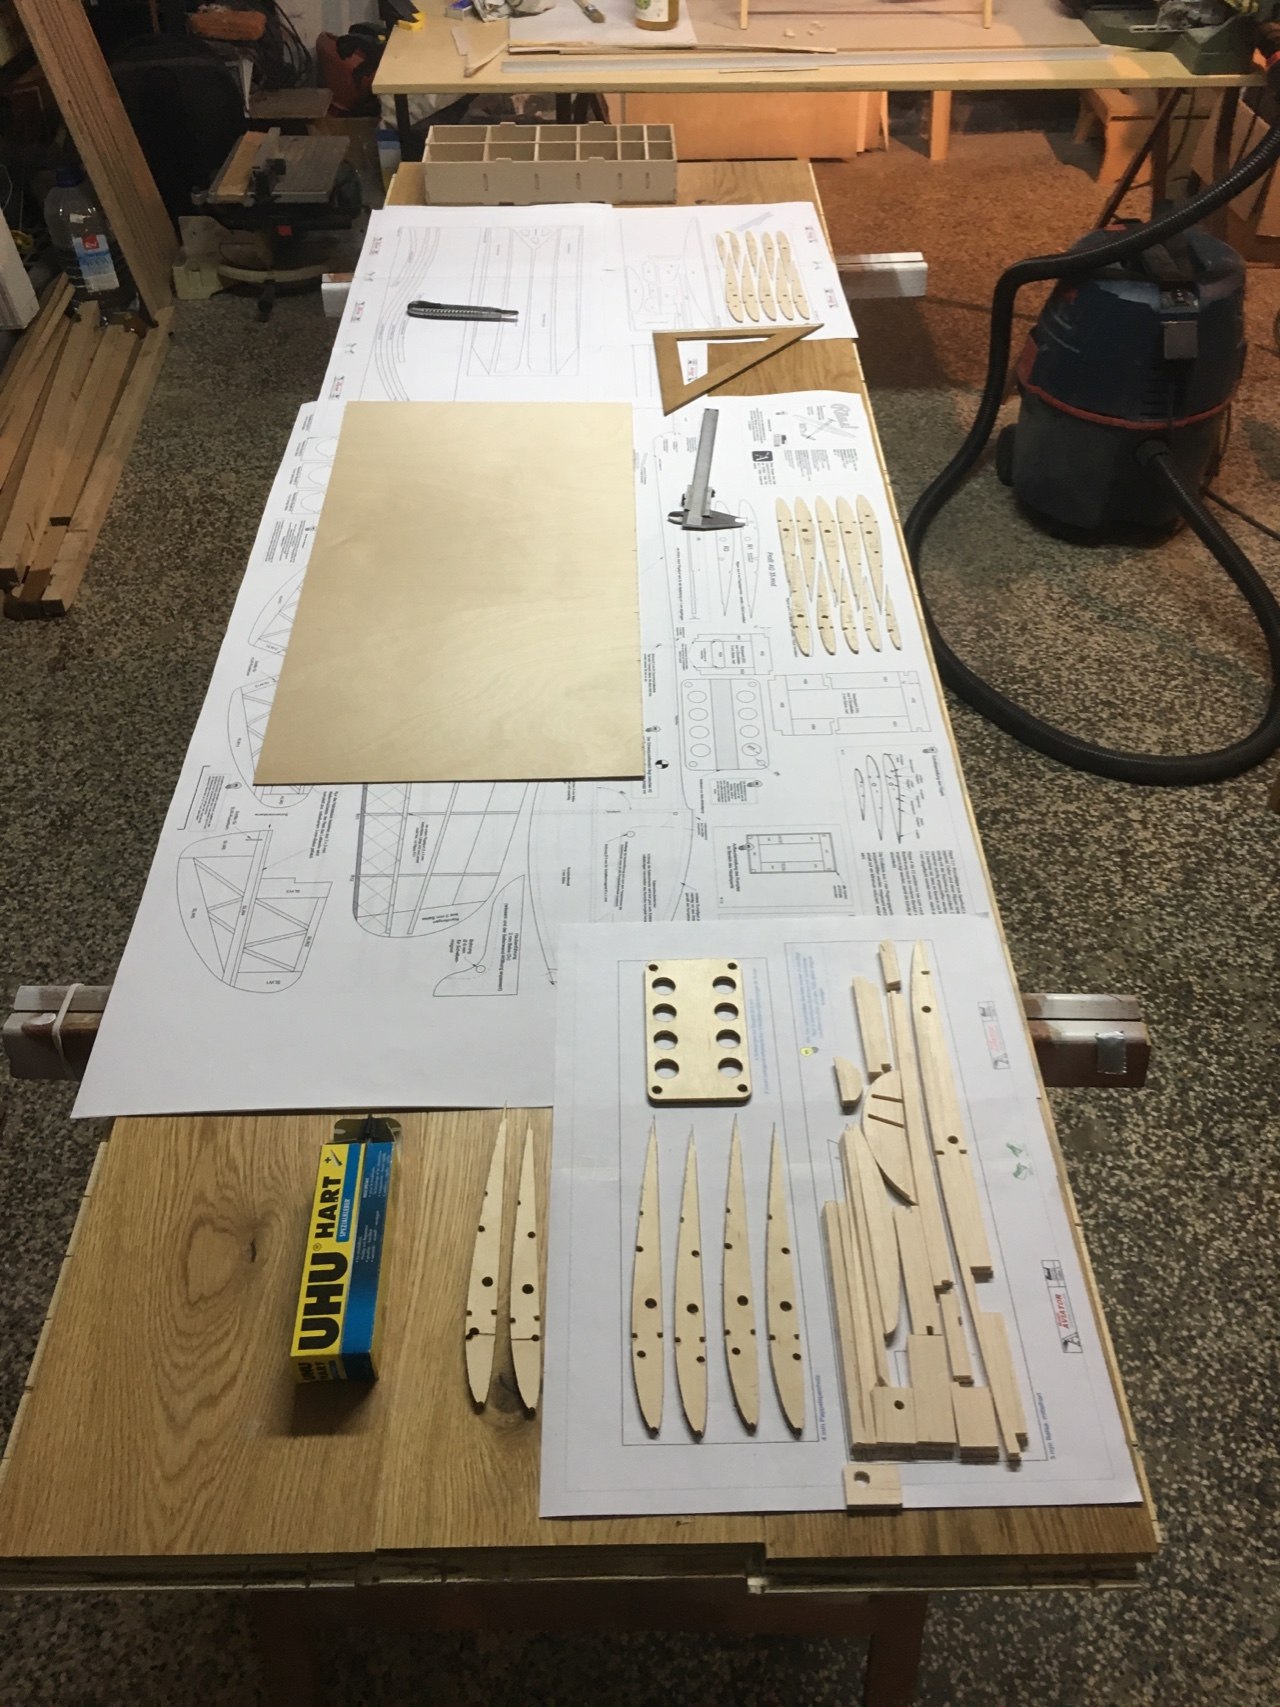
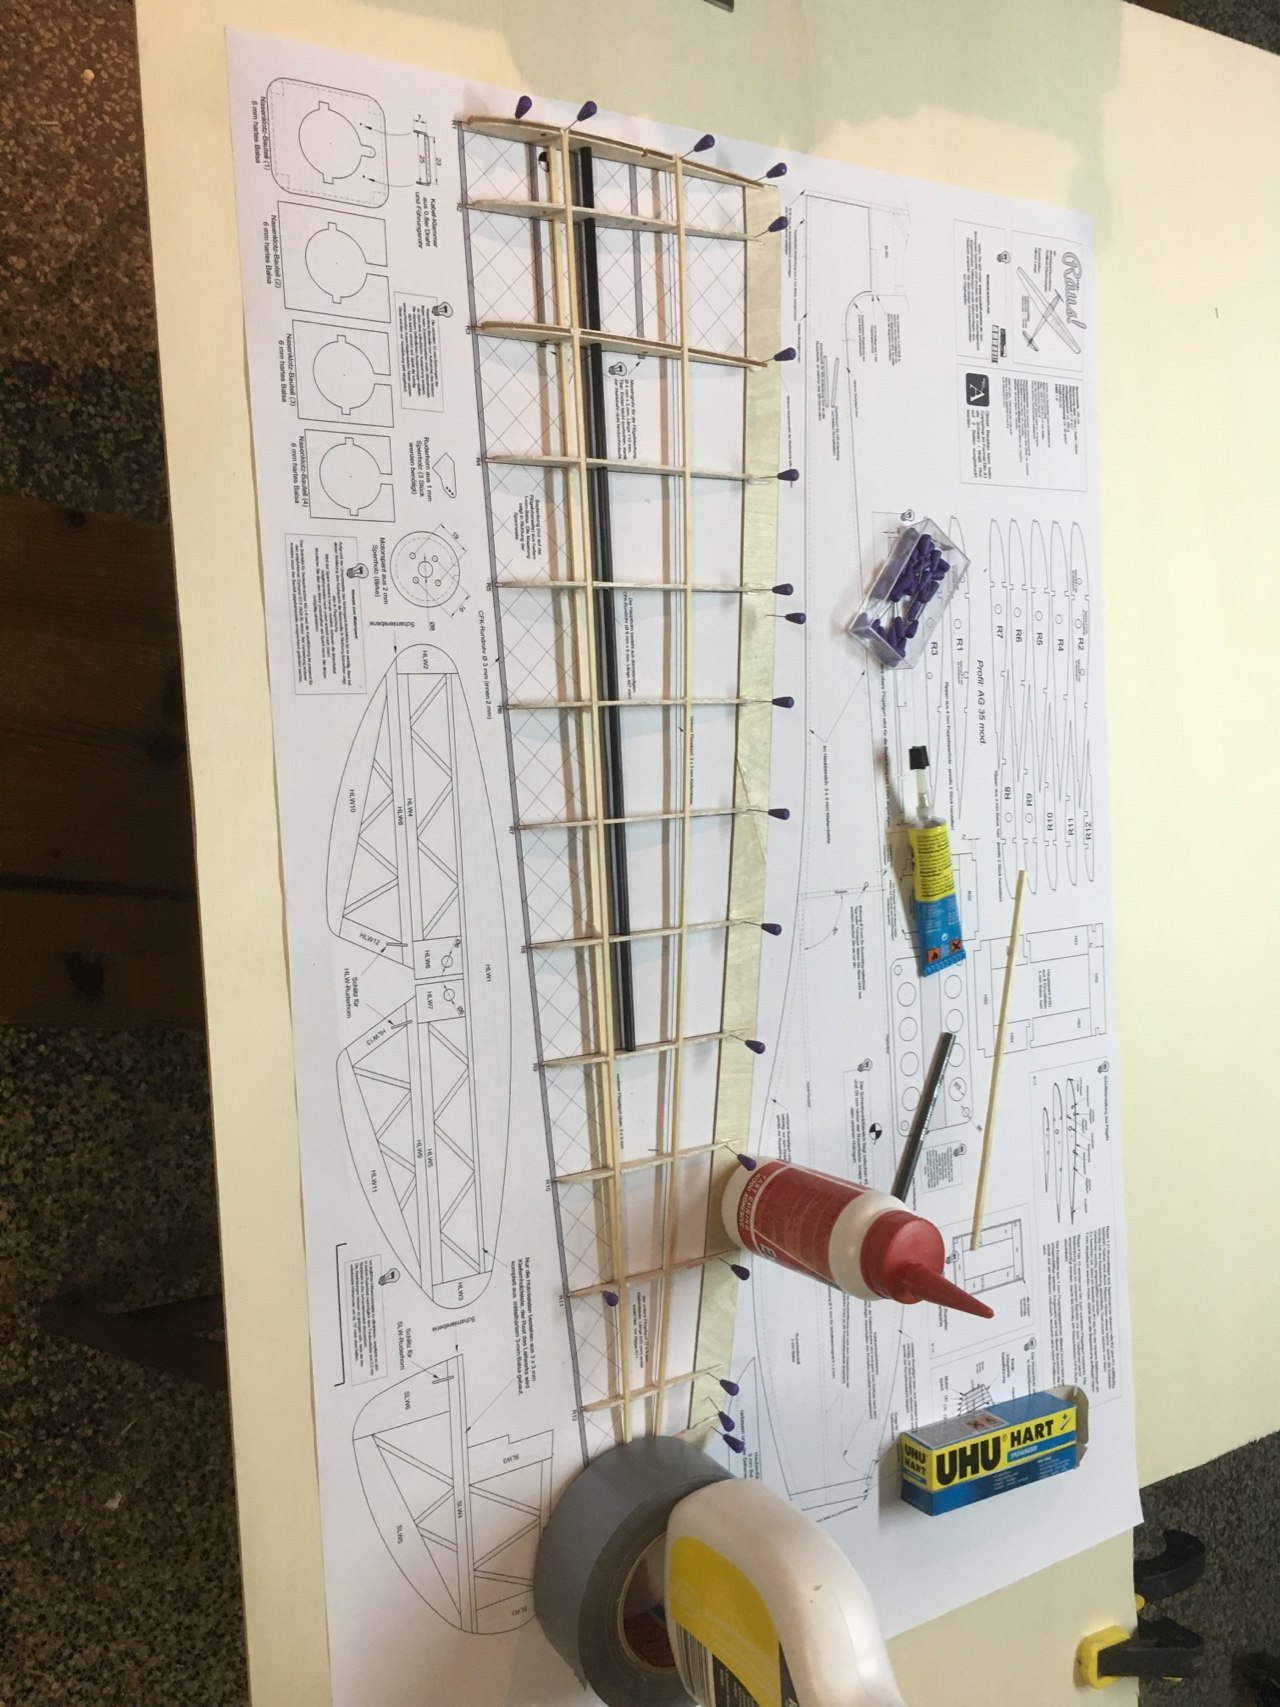
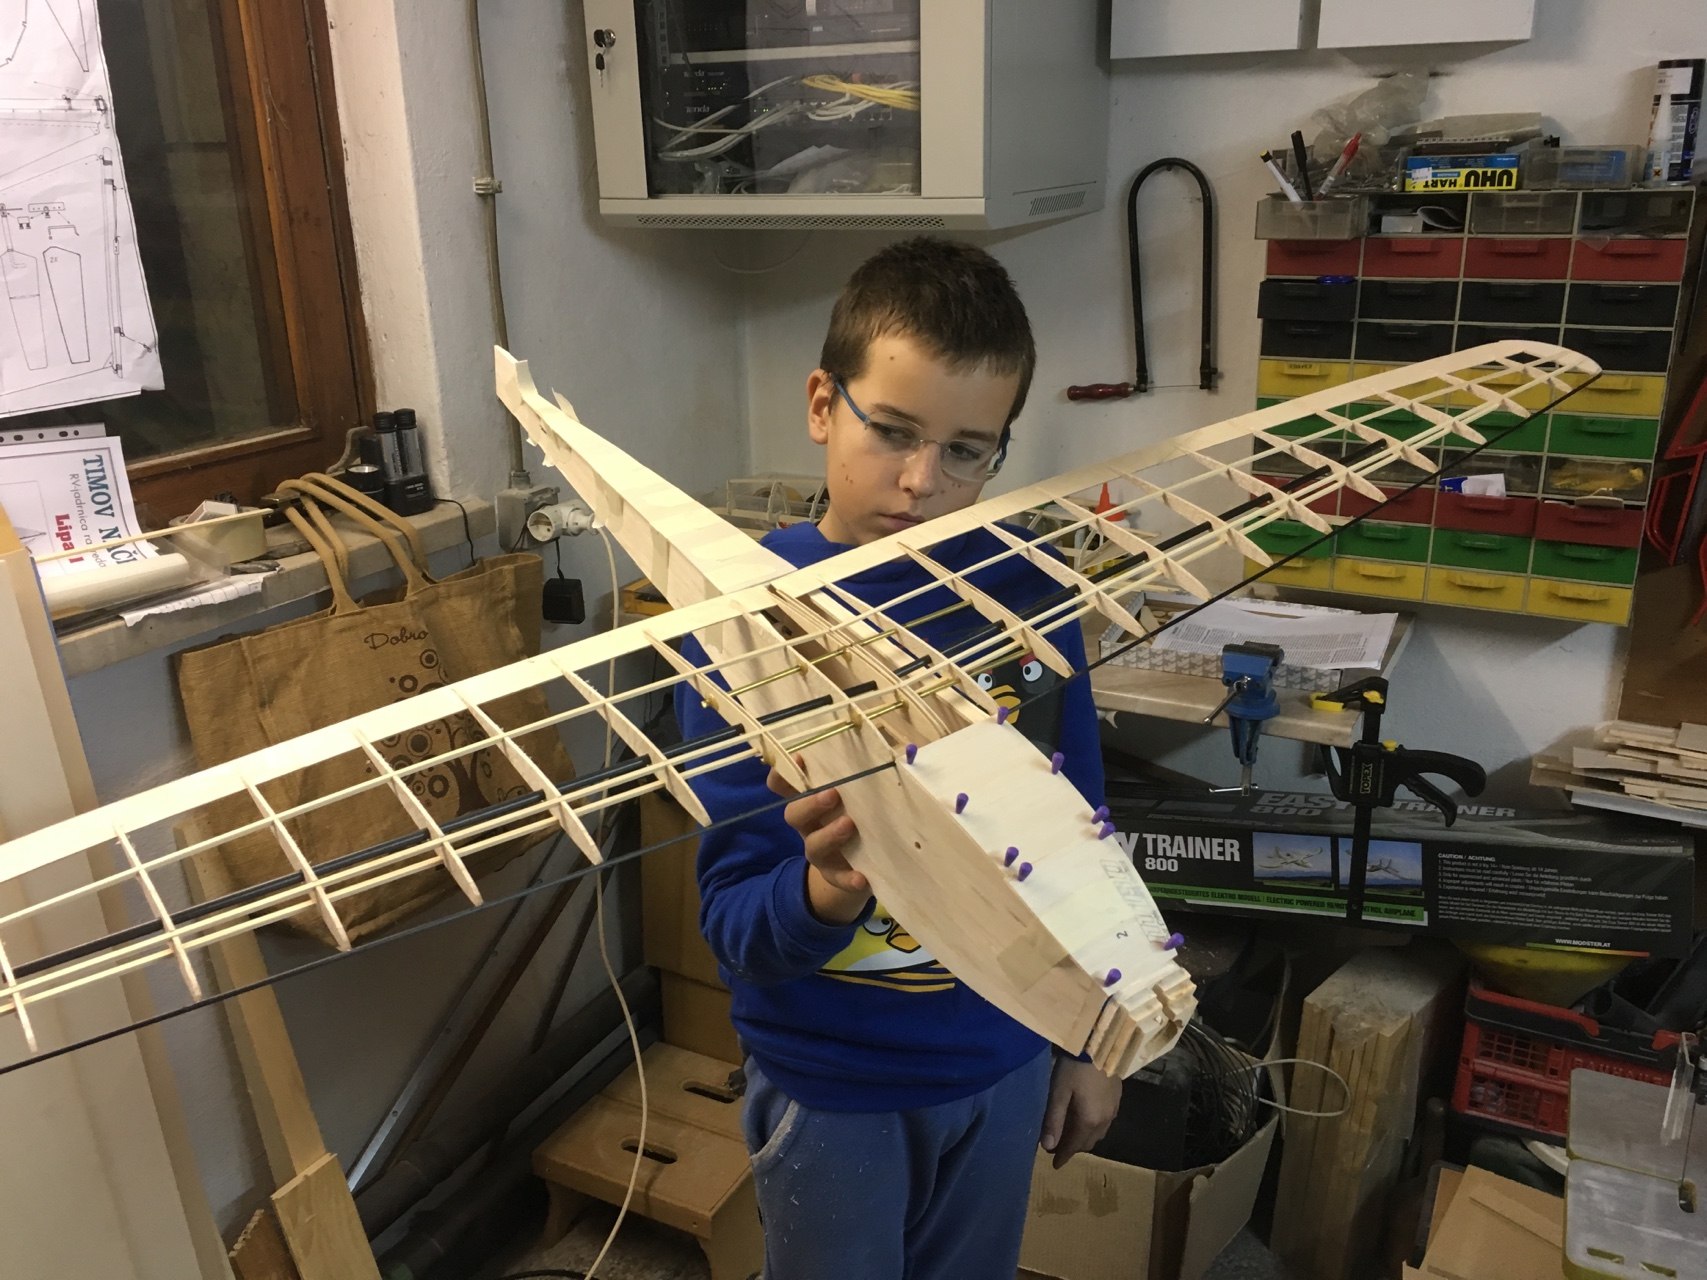
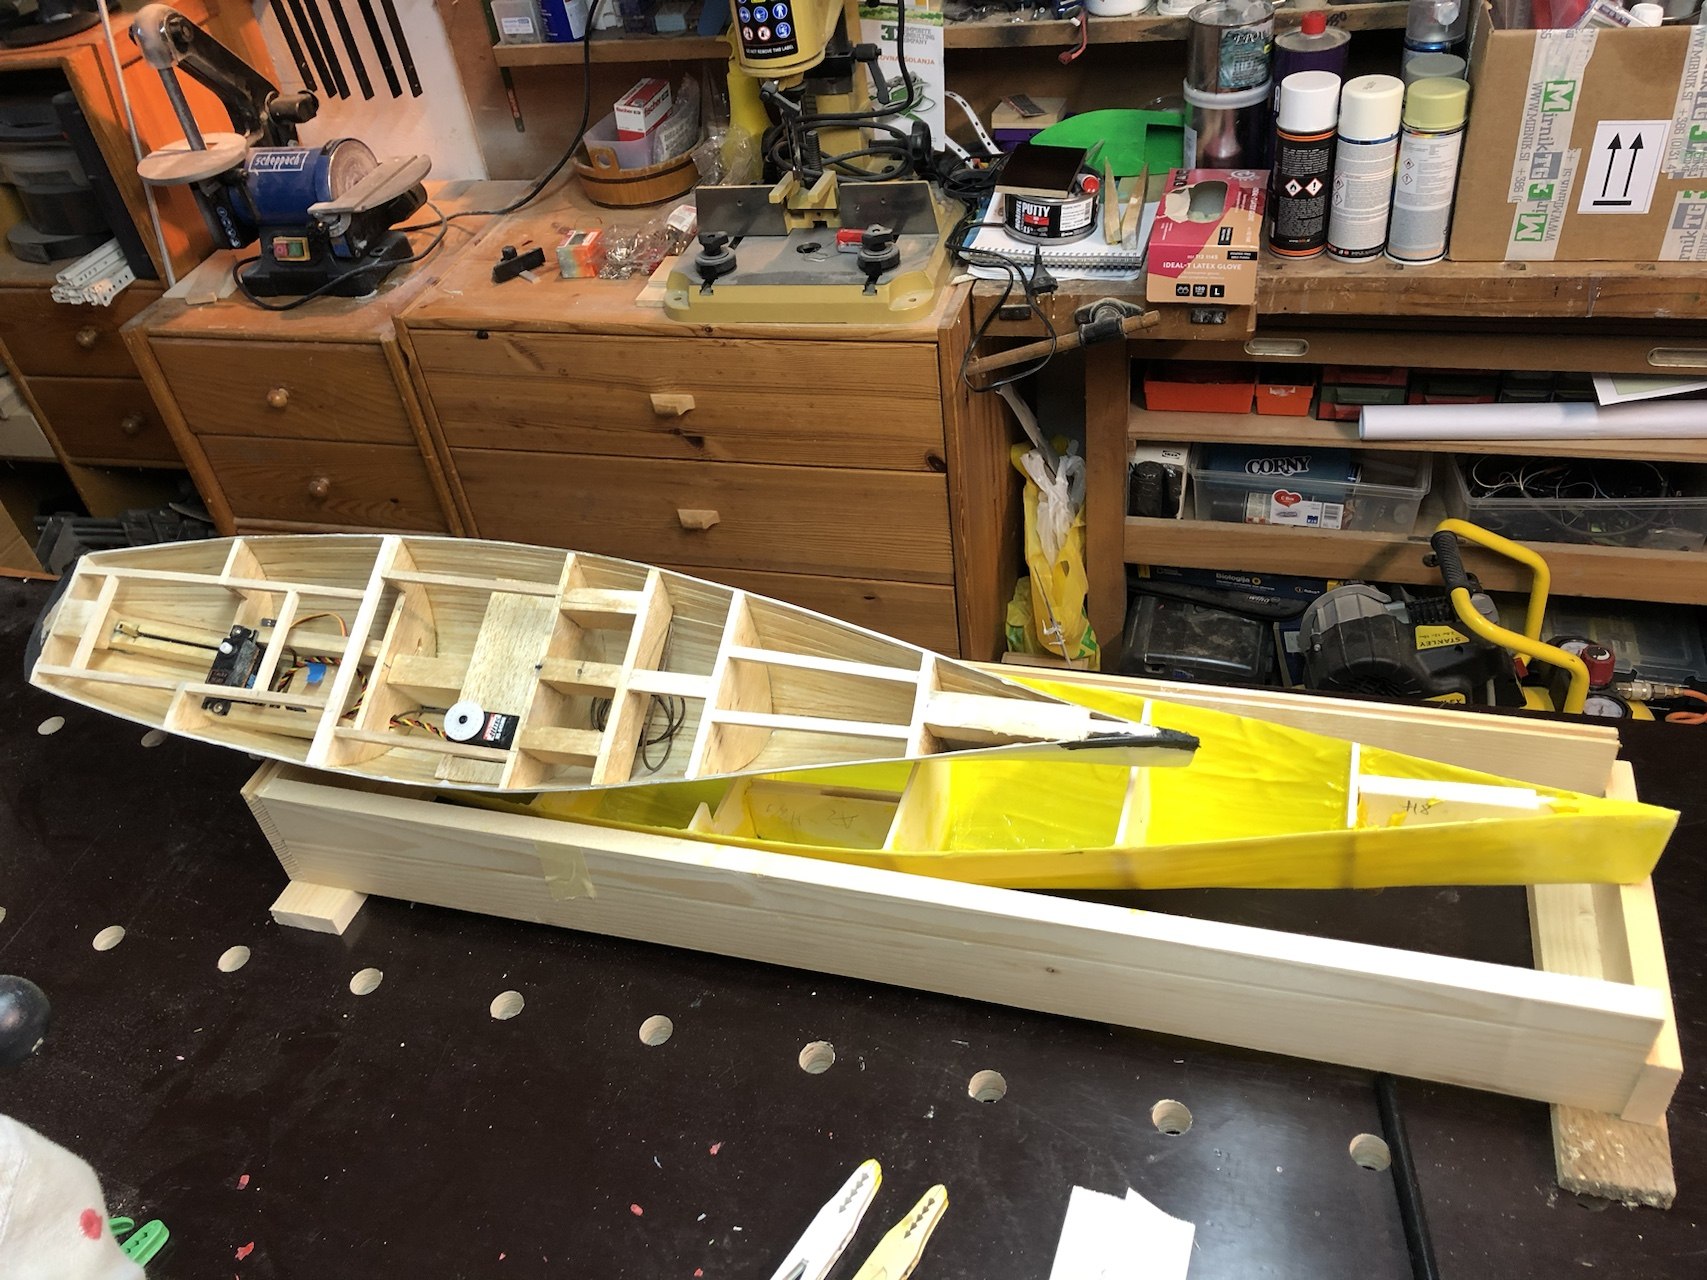
The open framework shows how little material is needed to create a functional hull. At the same time, no frame may be twisted. Nik checked the structure repeatedly from different angles before closing the outer shell.
Rudder control, servos and surface finishing
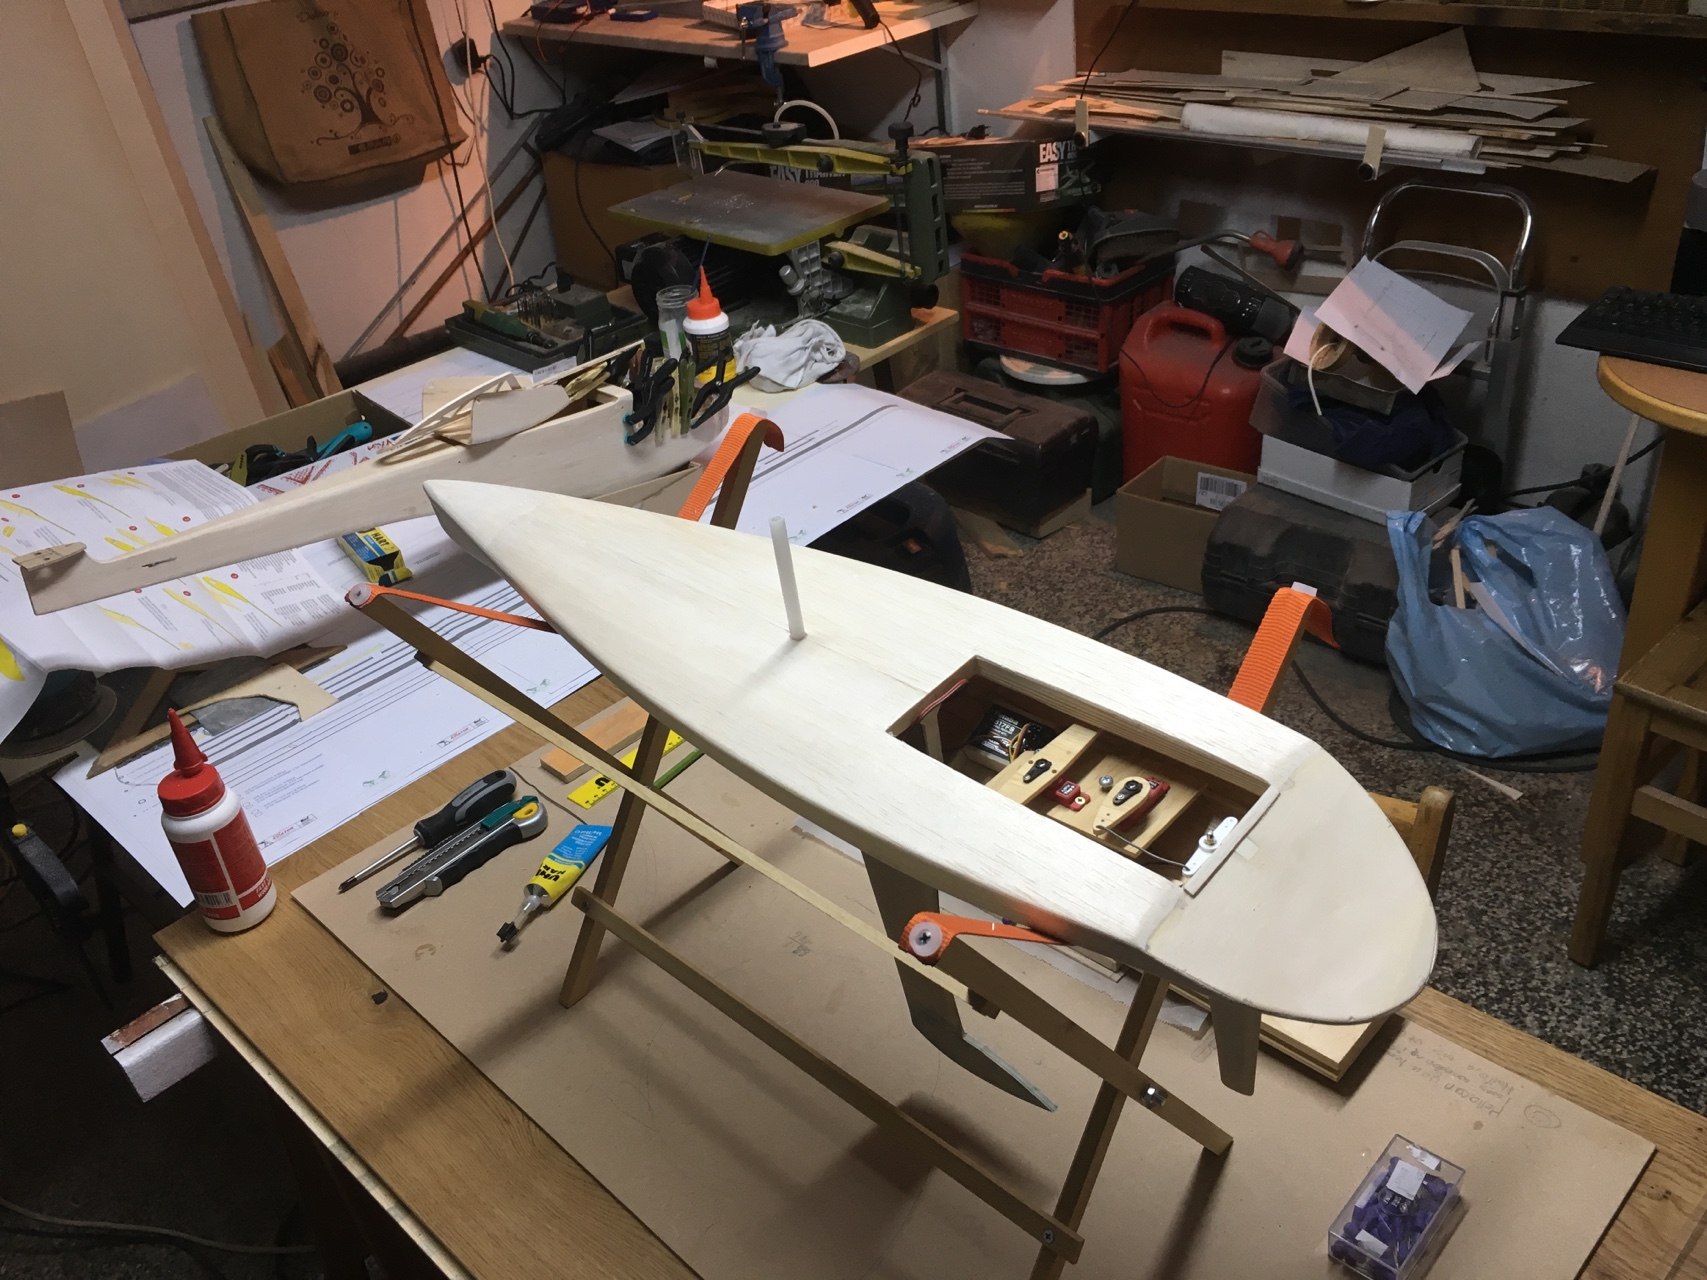
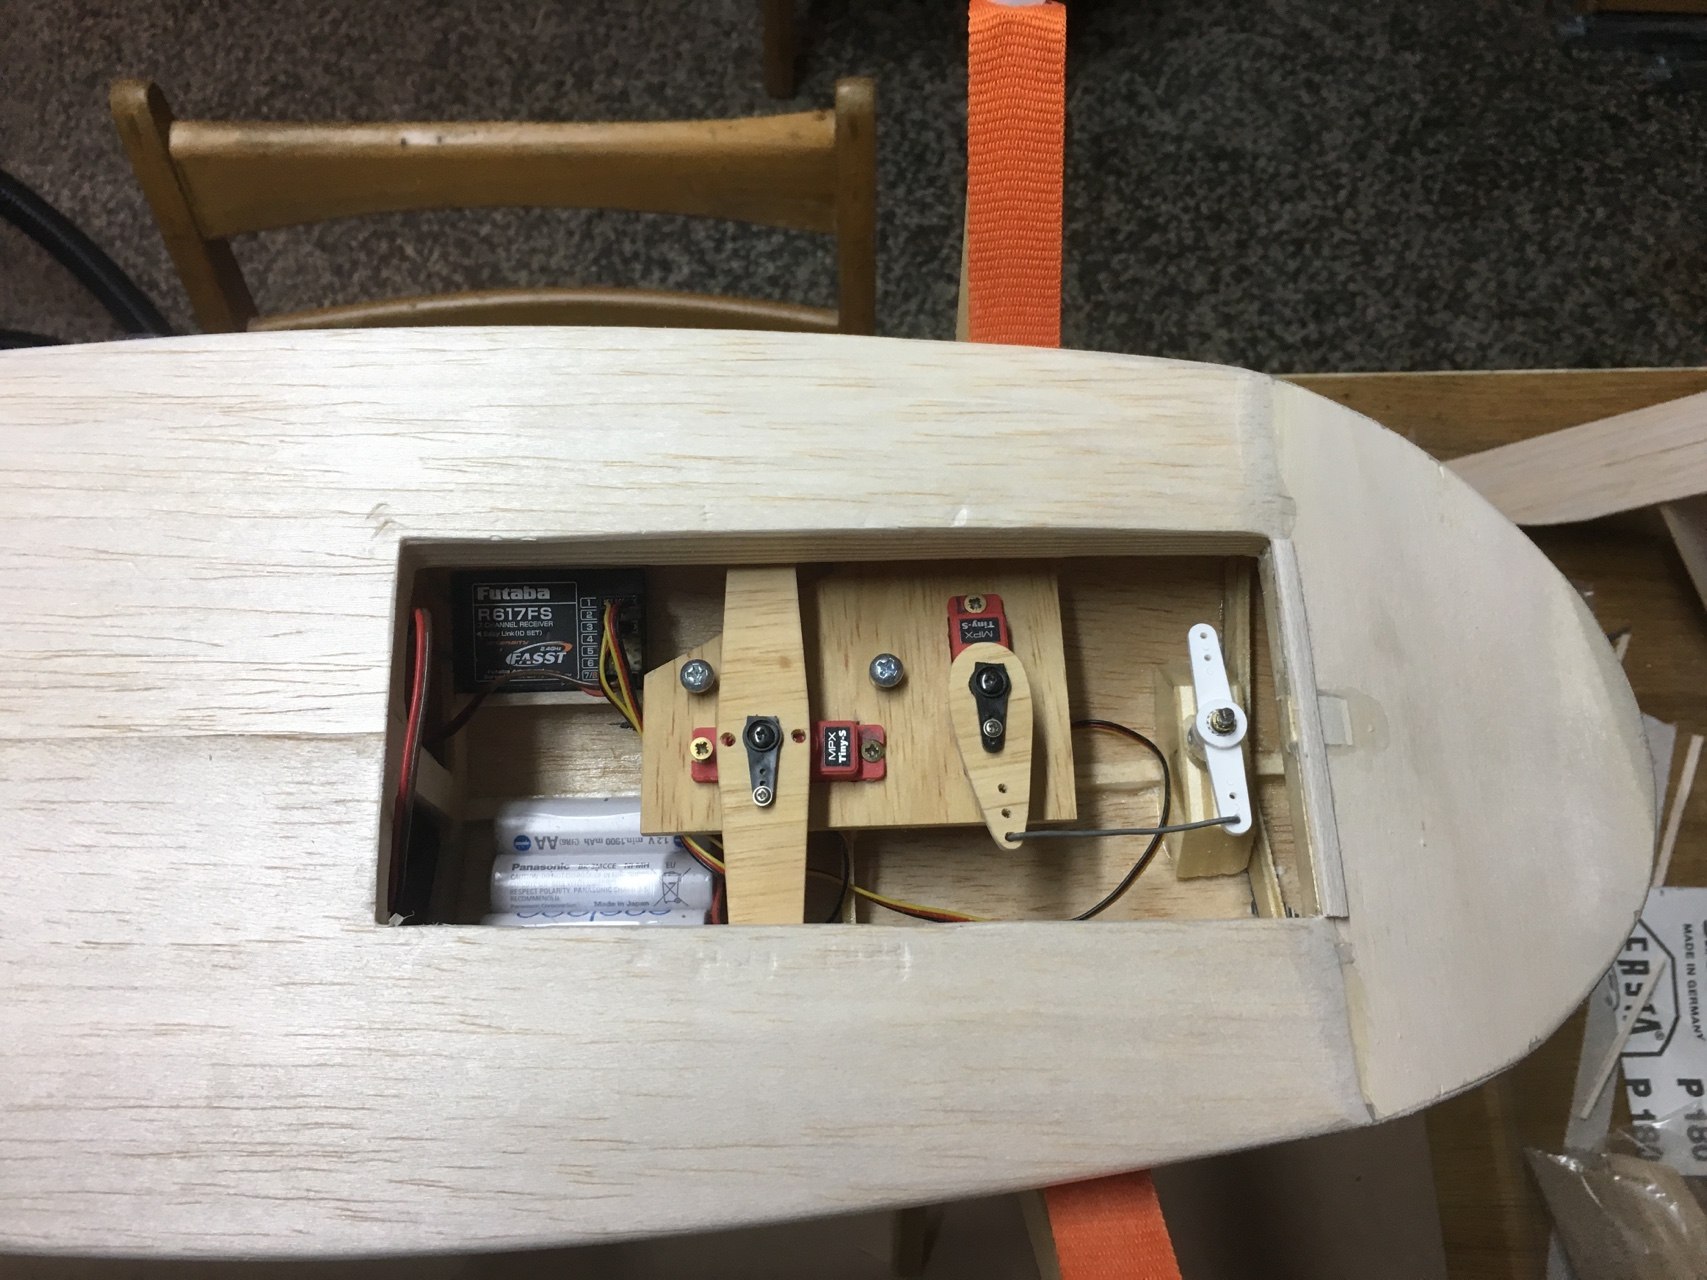
The internal mechanism must remain accessible while being protected from spray. Servo arms, linkages and the rudder shaft need as little play as possible. The access hatch must also allow the battery, receiver and servos to be maintained after the deck is complete.
After careful sanding came primer and paint. The finish is more than decoration: it protects the wood from moisture and reveals any uneven areas that still need attention before final assembly.
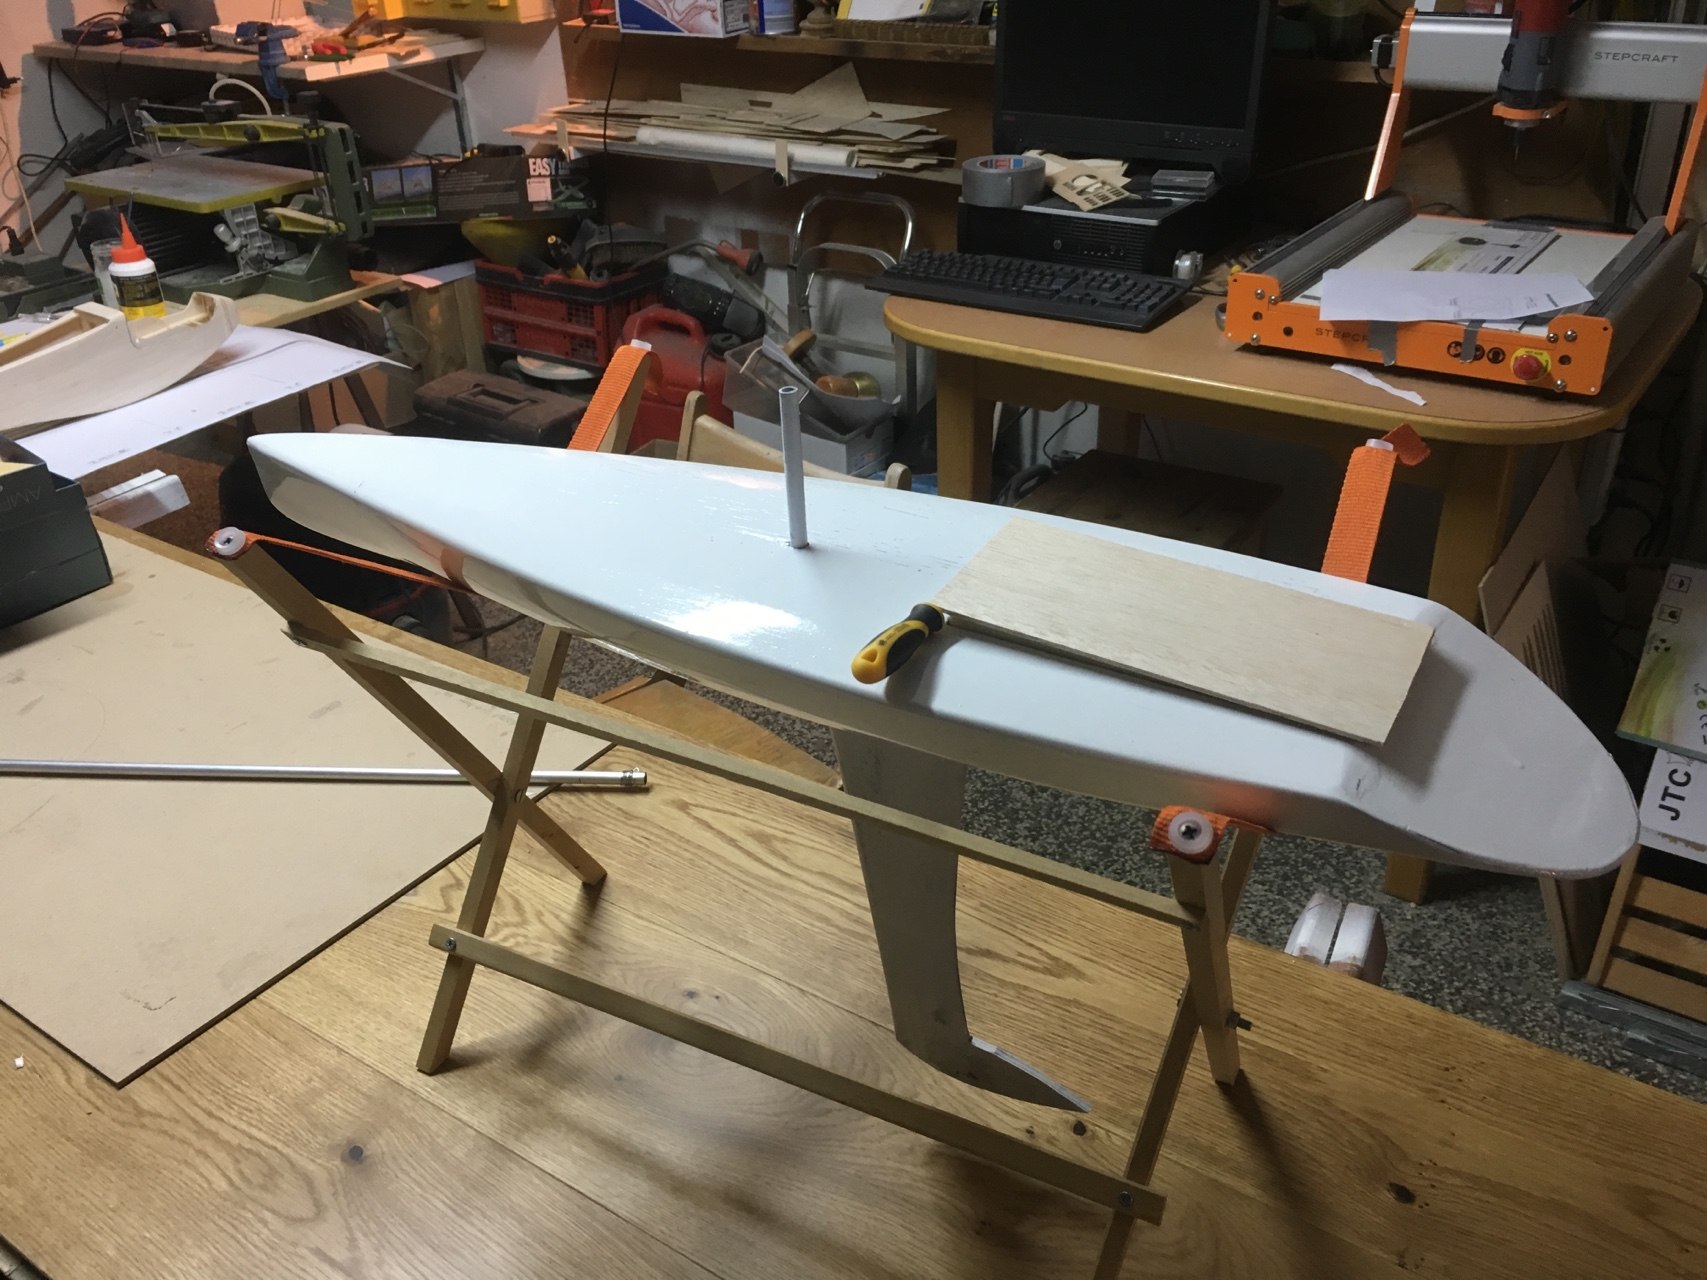
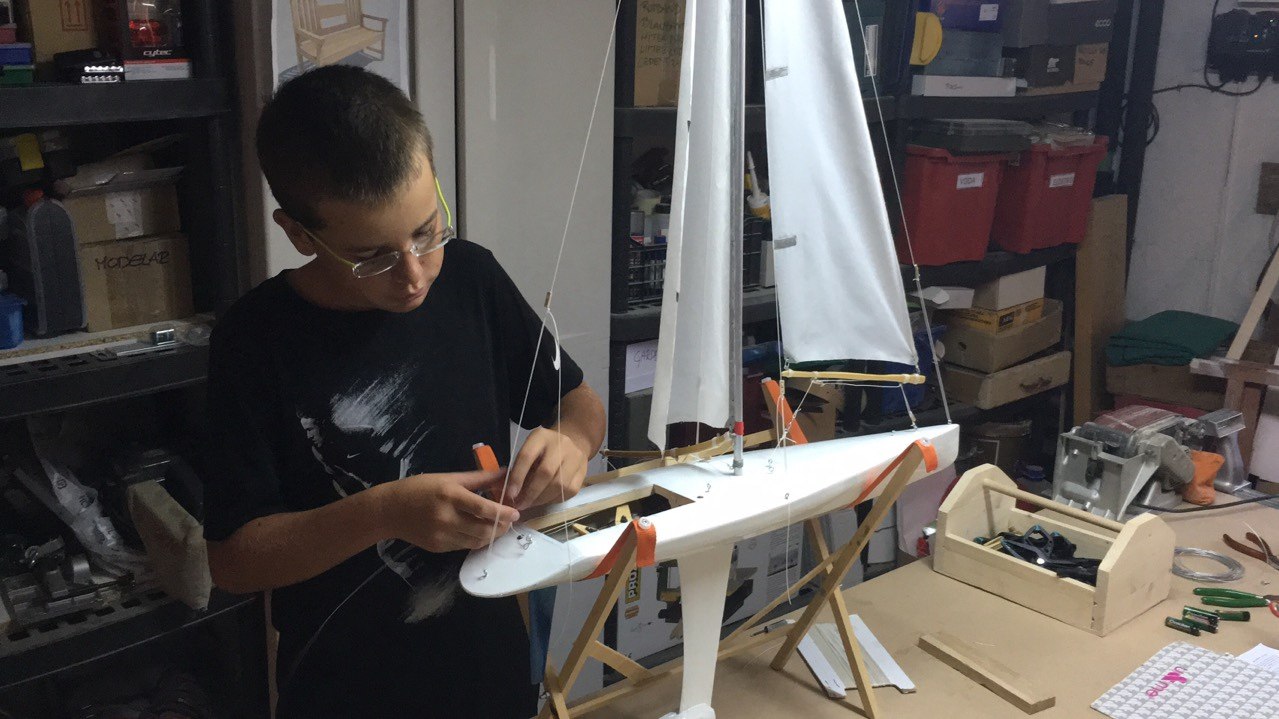
The real test: sailing for the first time
Only on the water can weight distribution, keel, rudder and sail trim be judged as one system. The first sail was therefore not merely the end of the workshop build; it was the functional test of every earlier decision.

The second project: a more demanding hull
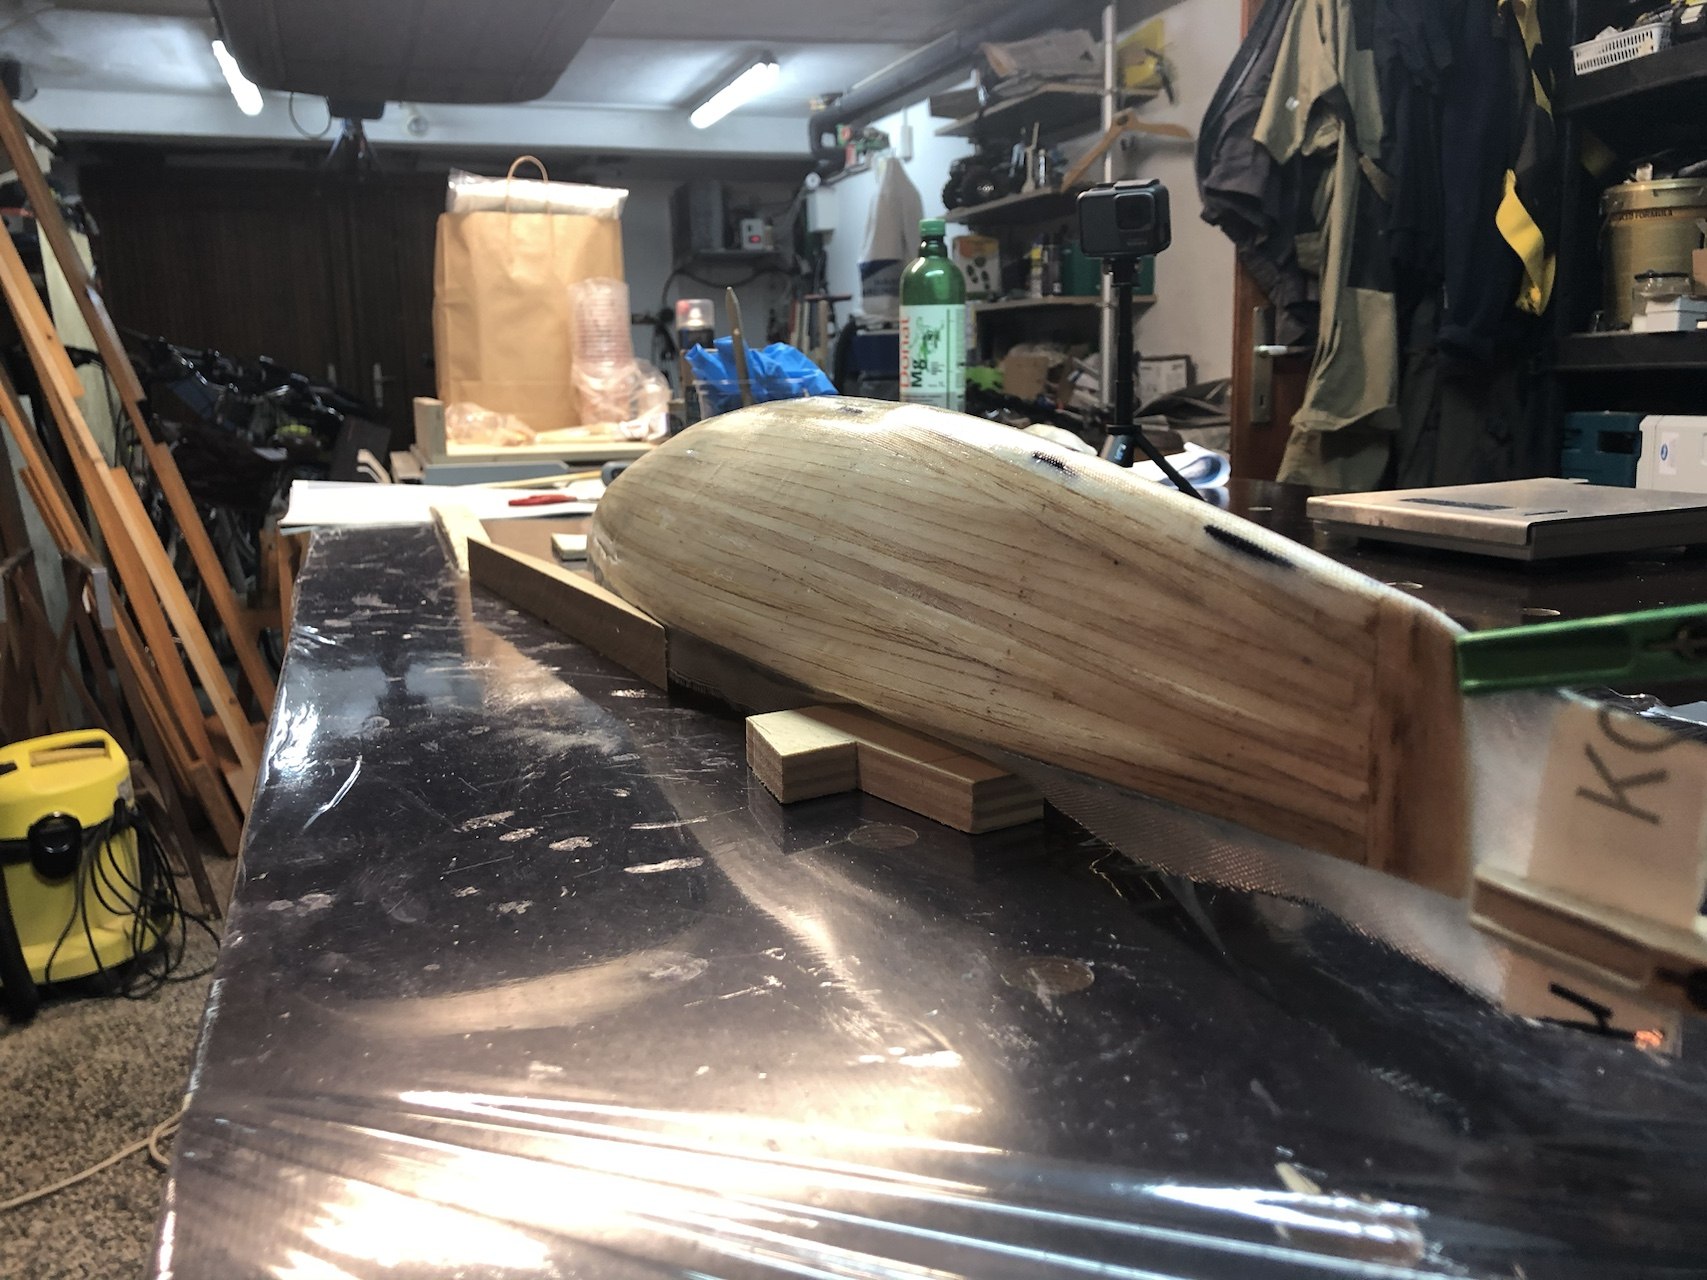
A larger and more ambitious project followed in 2019 and 2020. Once again, the build began with accurately aligned frames. This time the form was covered with many narrow wooden strips. Each strip had to follow the compound curve, be fixed securely and then sanded into a continuous surface.
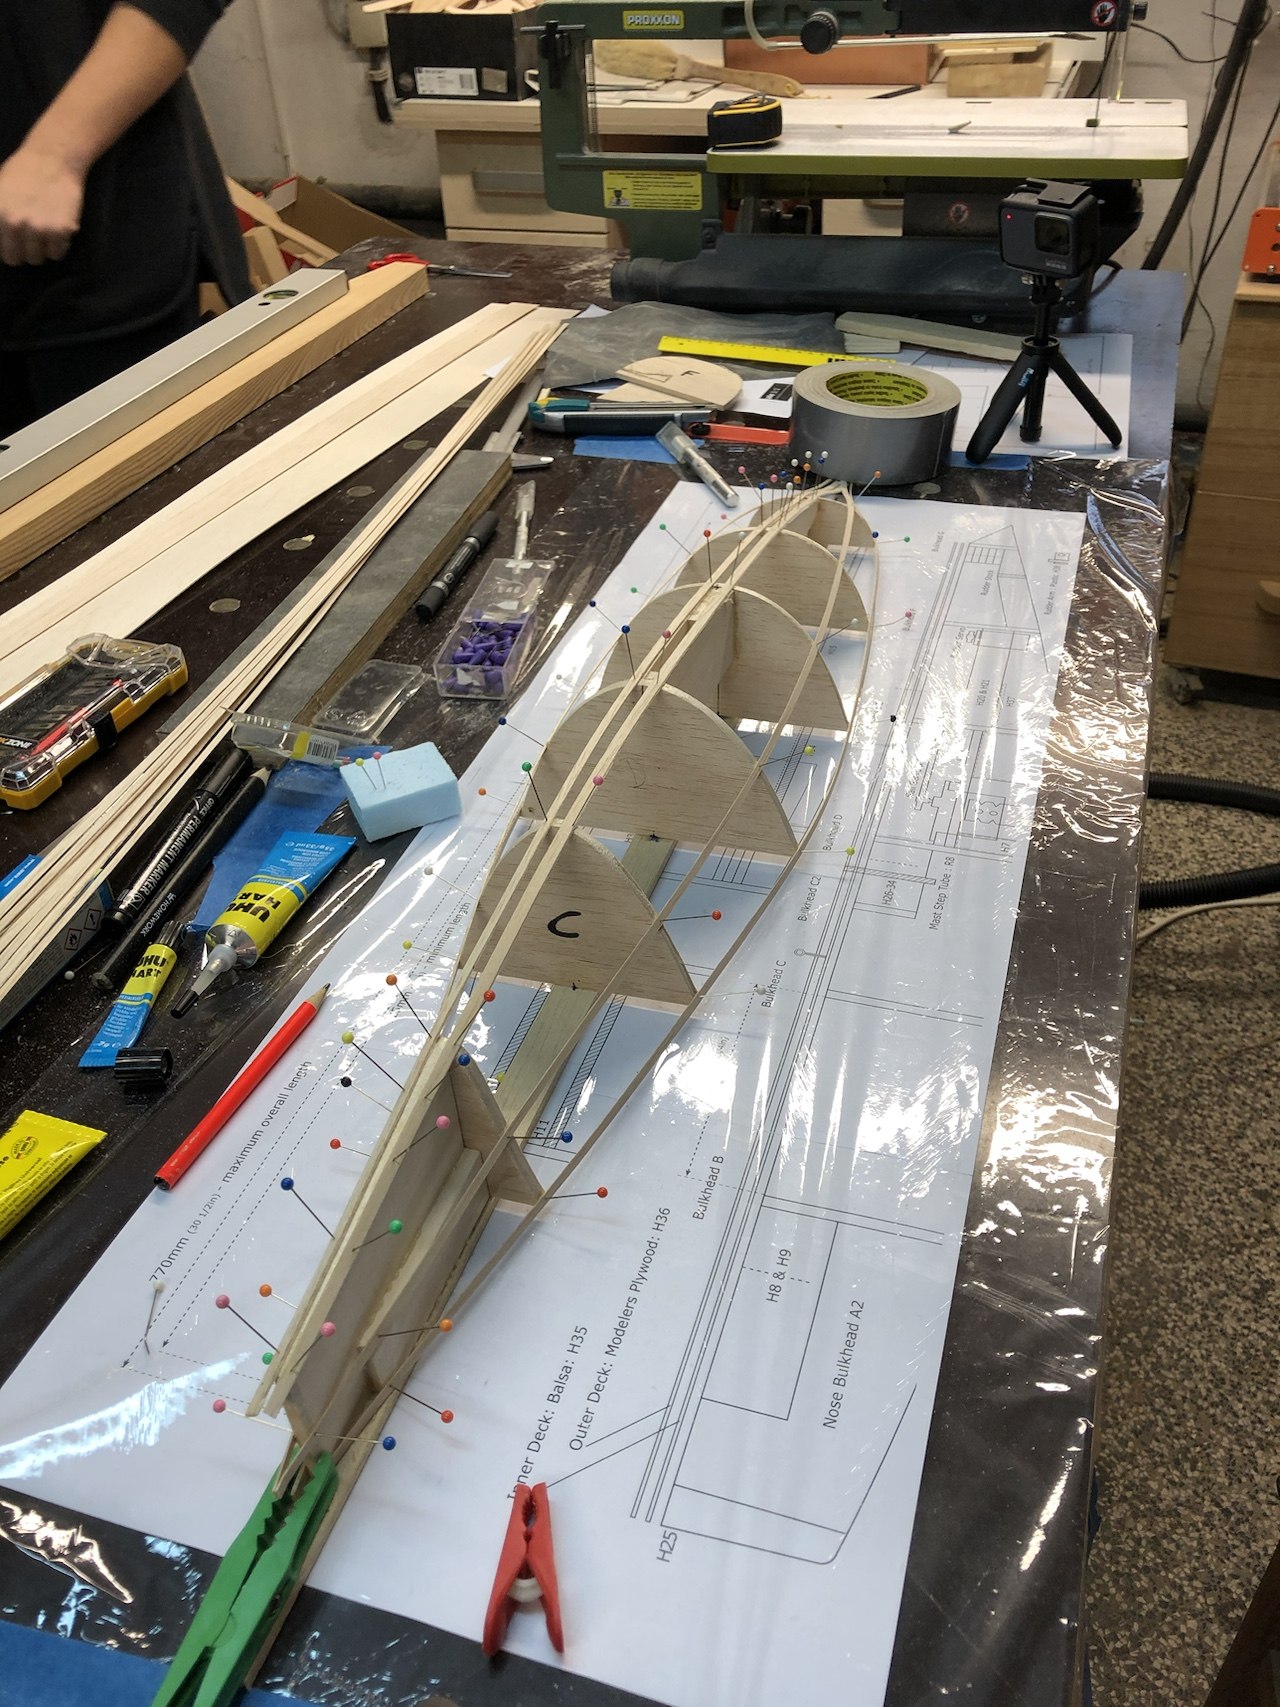
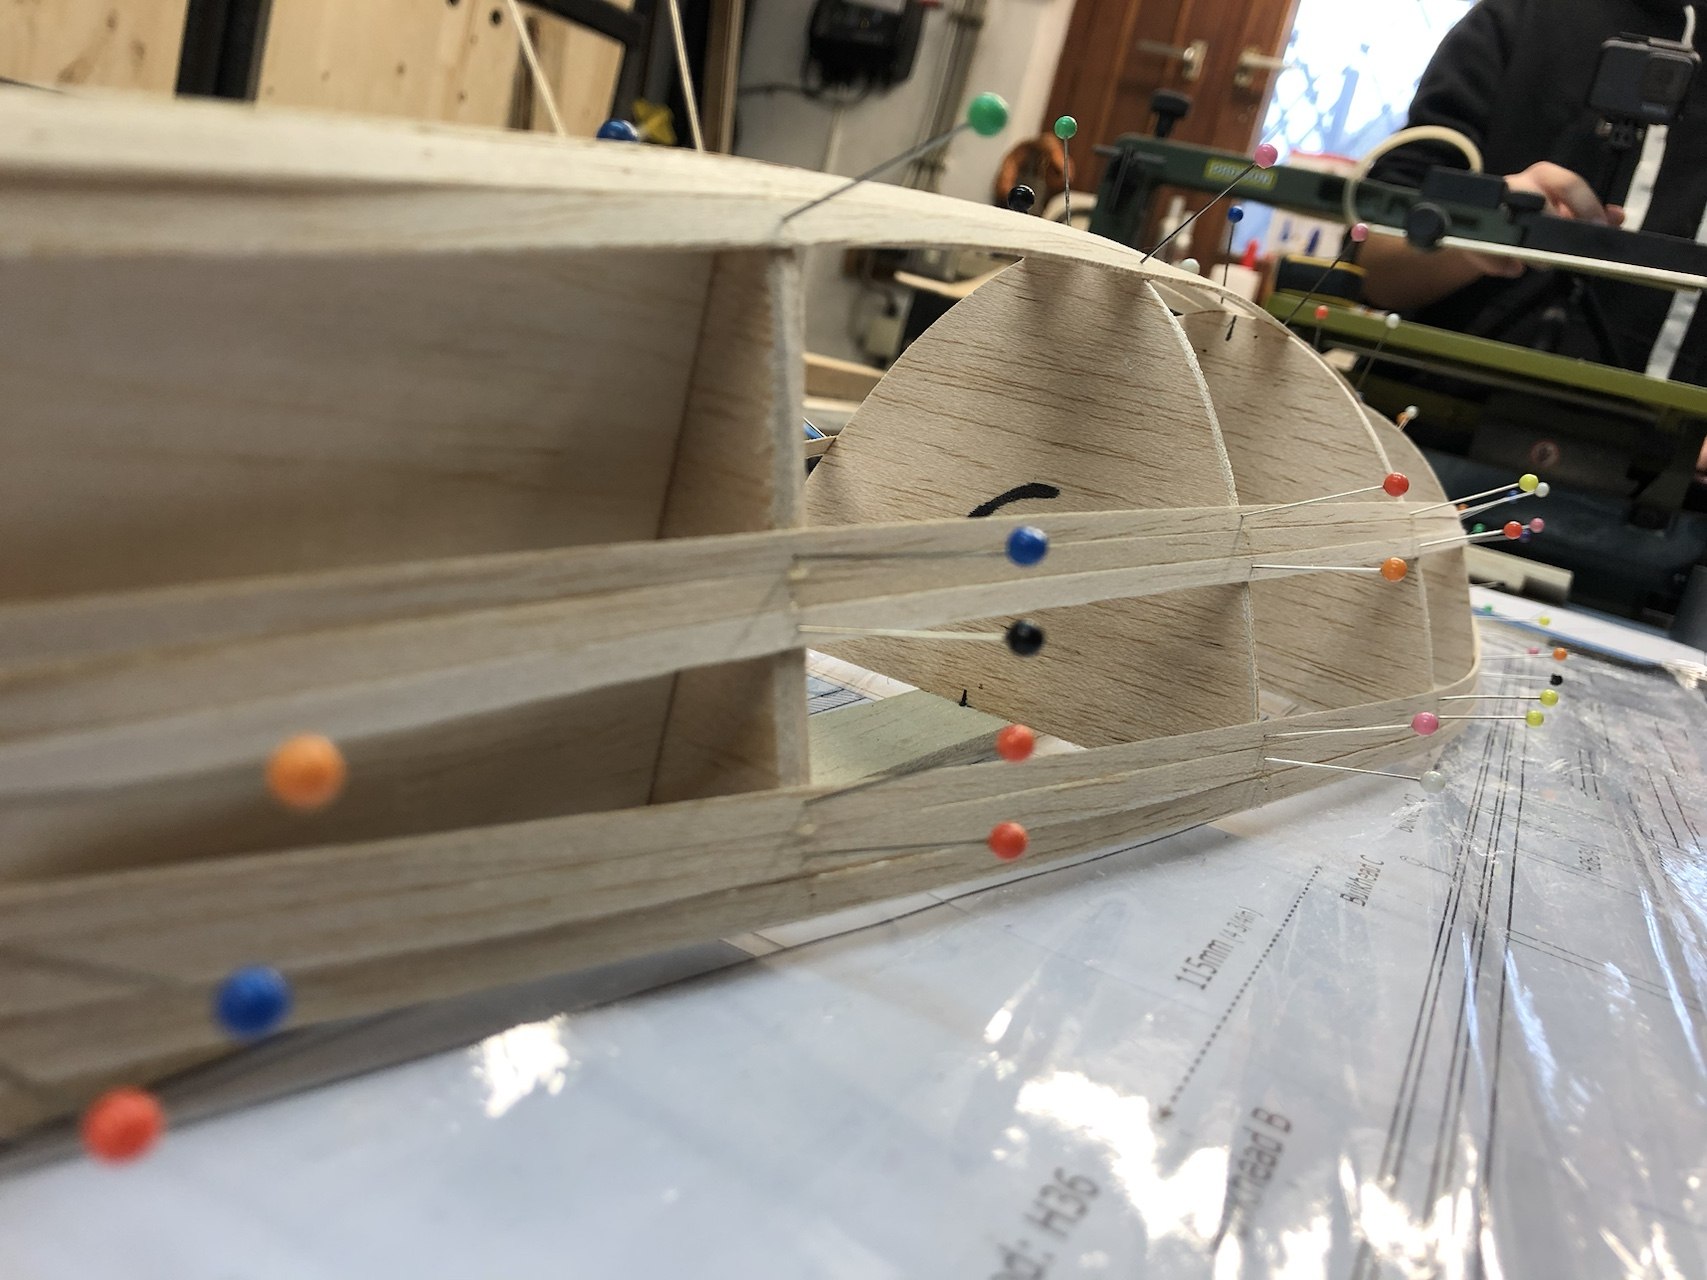
Sanding, laminating and painting
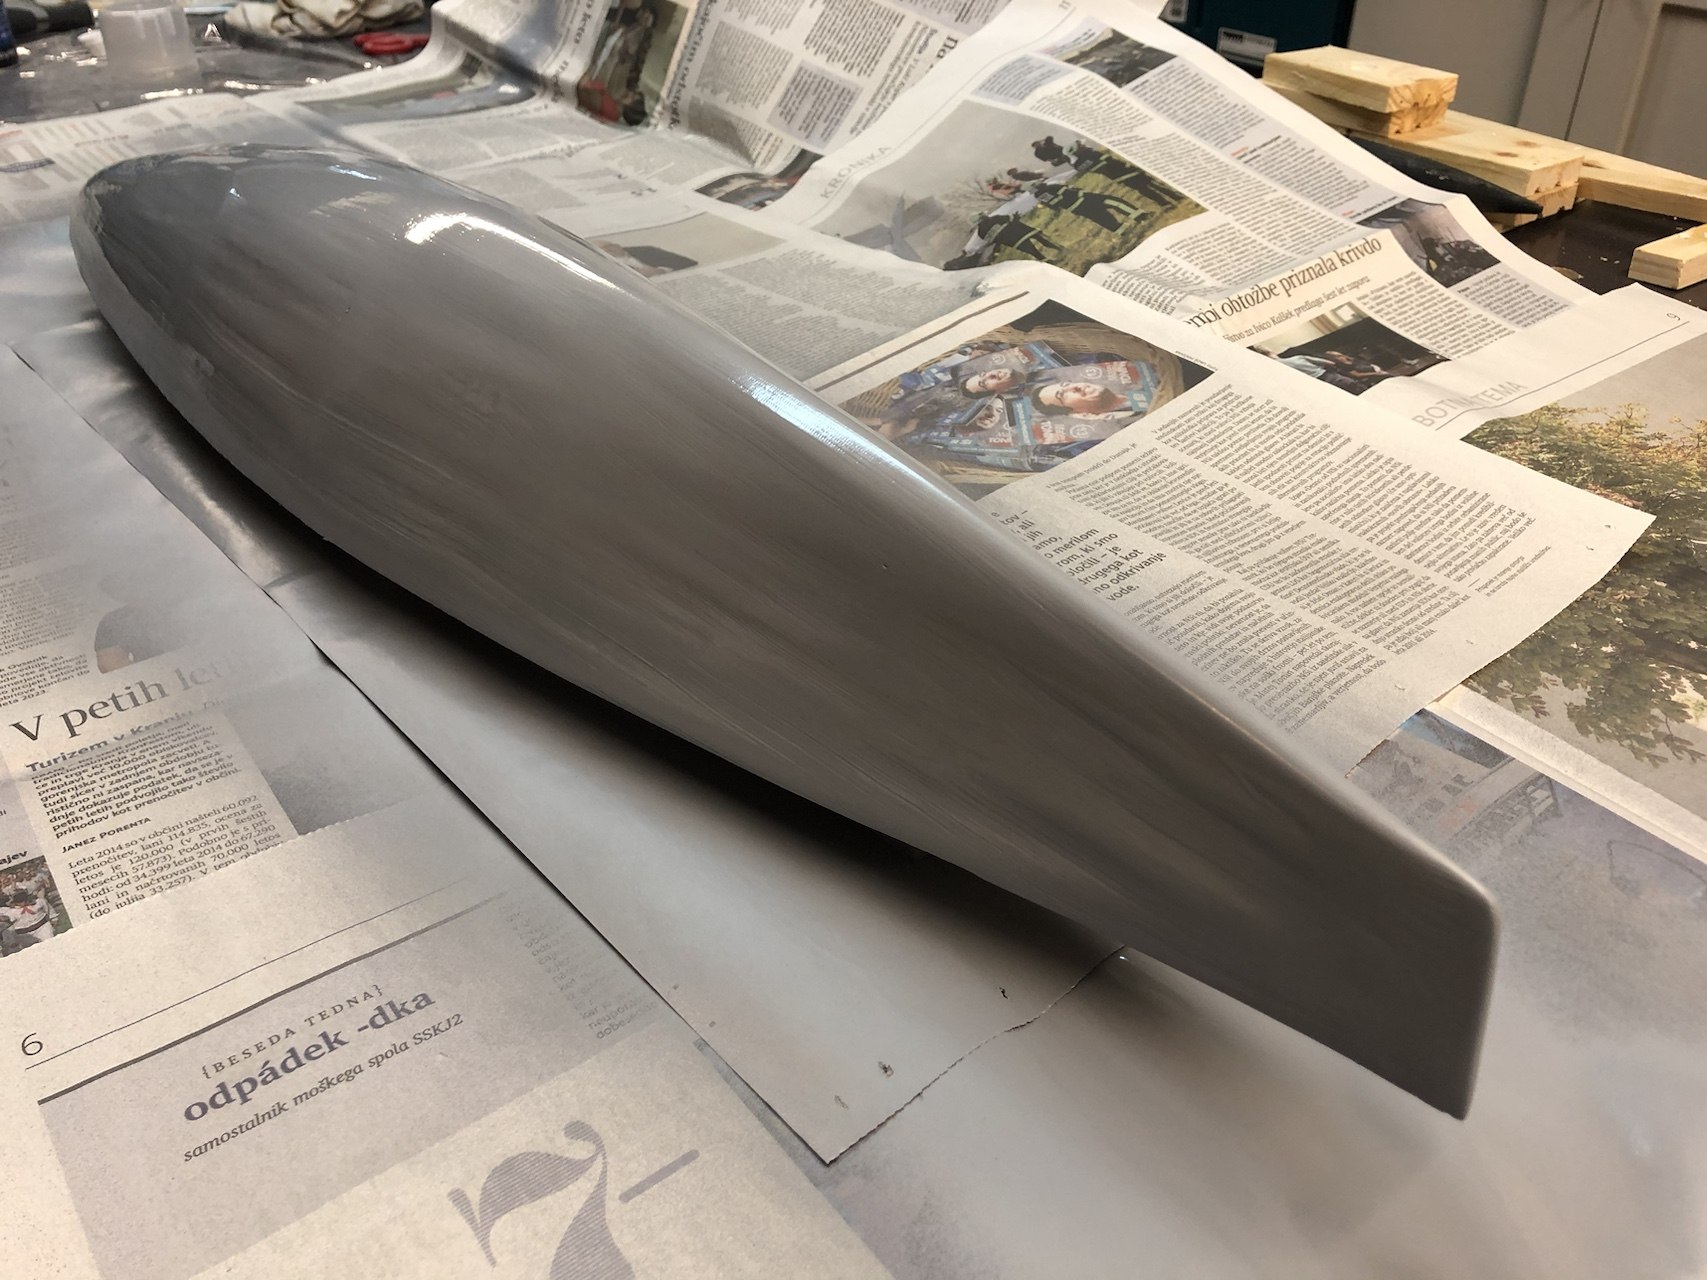
Patience determines the quality of a hull like this. Too little sanding leaves ridges and waves; too much removes vital material. Epoxy resin and glass-fibre cloth reinforce and seal the form before primer and paint create a smooth surface that can be inspected and corrected.
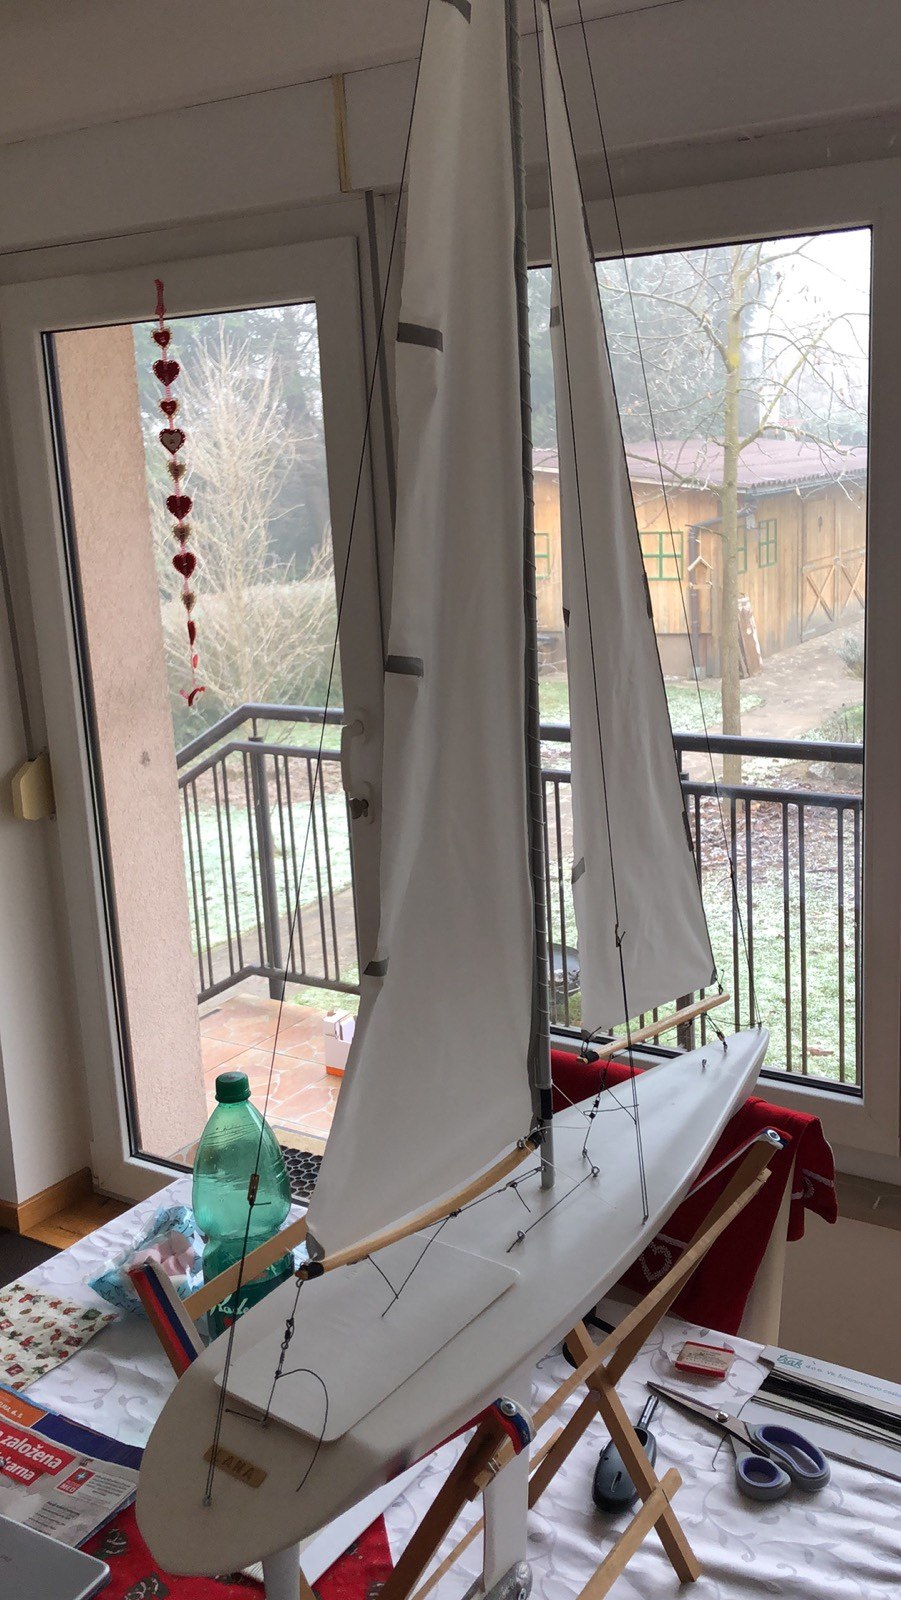
Radio system, interior and completed model
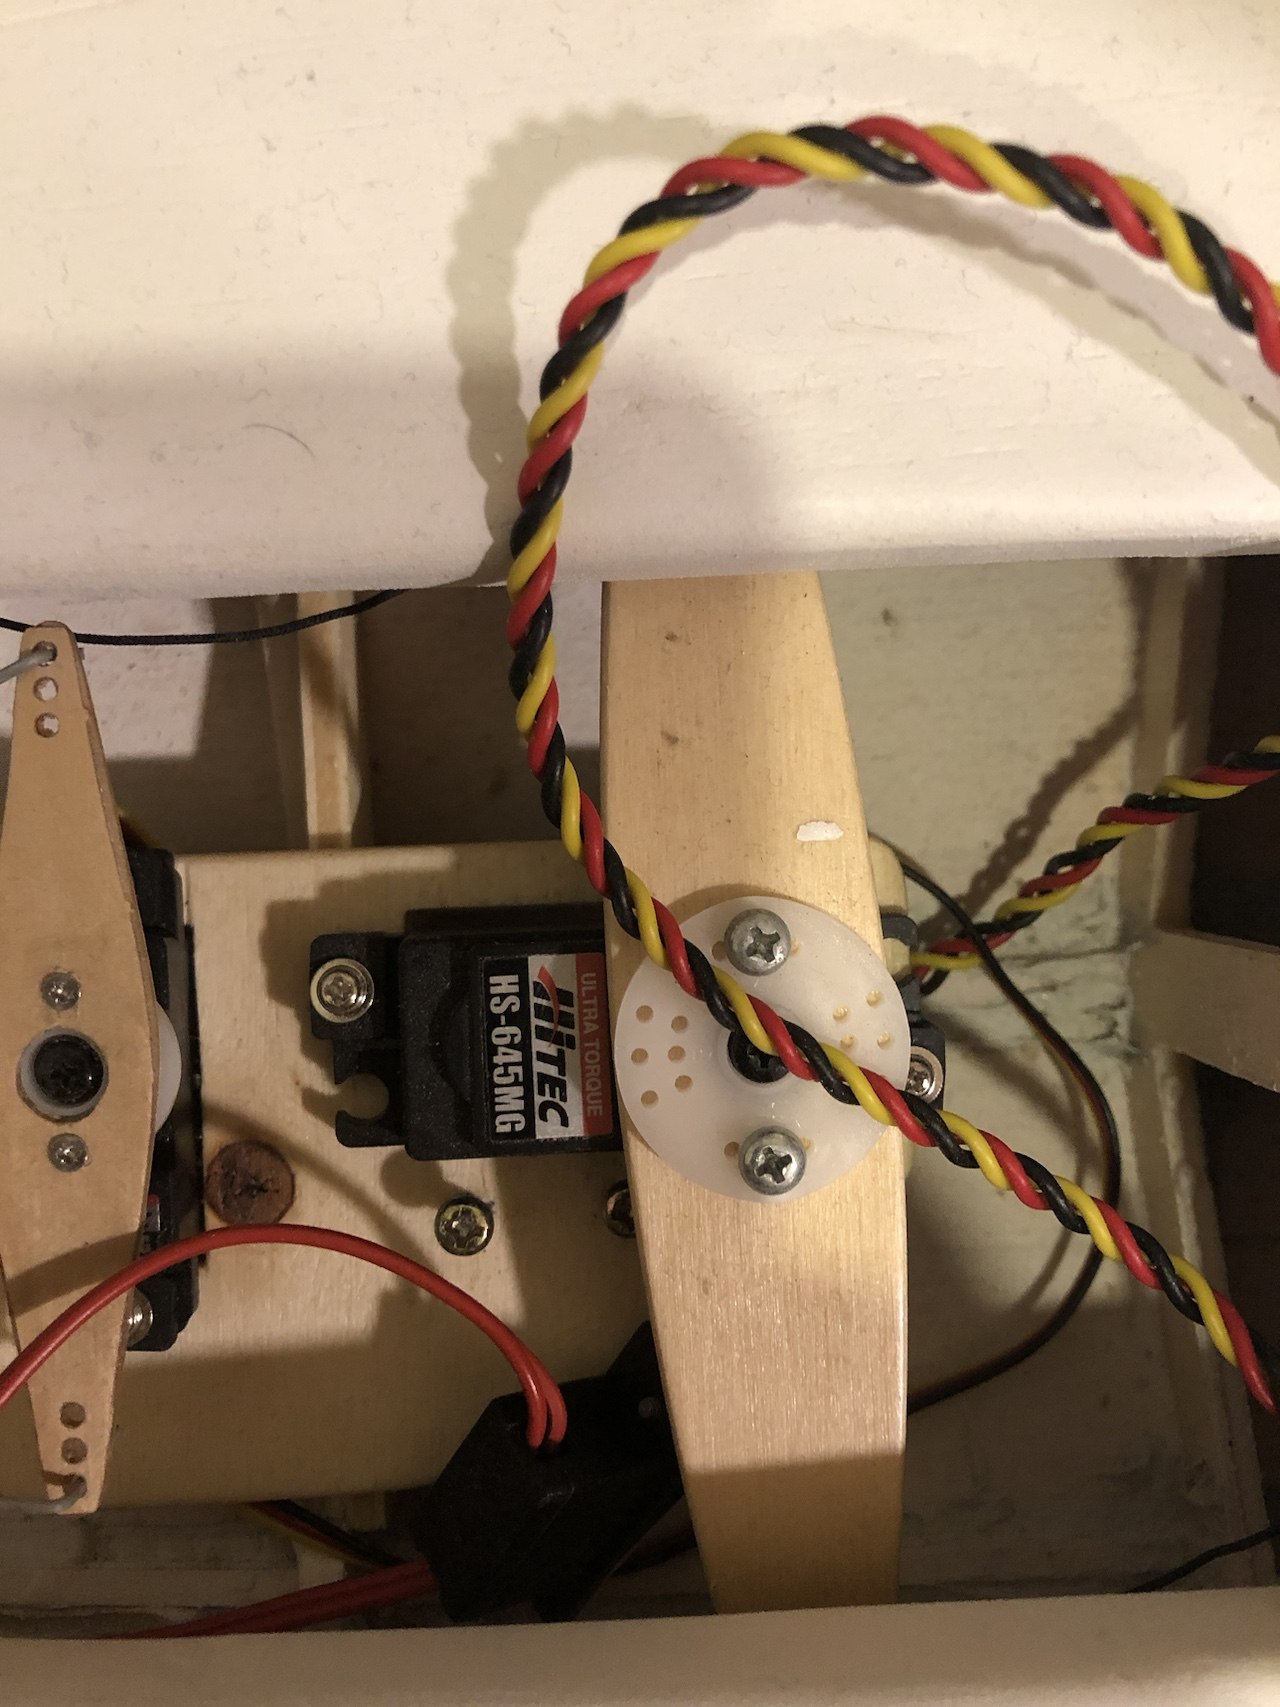
Servos operate the rudder and sail control. Torque and speed matter, but so do rigid linkages, short cable runs and an installation that remains serviceable. The transmitter and receiver must be dependable while the battery and mechanism keep the centre of gravity in the intended position.
Materials and components
For similar projects, the important choices are matching the adhesive to each joint, using a resin intended for the actual laminating job, sizing the servos correctly and selecting a dependable radio system. The following links lead to specific Amazon.de products; prices, package contents and availability may change.
Adhesives and composite materials
UHU Hart 125 g – a quick-drying model-making adhesive with a fine applicator, particularly useful for small wooden and balsa parts.
UHU Plus Fest 45705 – a two-part epoxy adhesive for strong local joints. It is not a substitute for low-viscosity laminating resin over large glass-fibre areas.
Epoxy kit with 1 m² of 160 g/m² fibreglass mat – a possible starting set for reinforcing or repairing a hull. For small model hulls, first check that the reinforcement is fine and flexible enough to follow tight curves.
Ghguole 4.5-litre clear casting epoxy kit – aimed mainly at casting, mould and coating work. A low-viscosity product explicitly specified as laminating epoxy is usually the better choice for a lightweight composite hull.
Servos and radio equipment
Miuzei 9 g metal-gear micro servos, pack of 10 – suitable for rudder control or lighter mechanisms. A larger sail normally requires a stronger standard servo or a dedicated sail-winch servo.
RadioLink AT9S Pro transmitter, Mode 2 – a multi-channel radio for different RC models. A sailboat needs only a few channels, but the additional capacity leaves room for future functions.
RadioLink R12DS 12-channel receiver – advertised as compatible with the AT9, AT9S and AT10 families. Check the transmitter package before ordering: the linked AT9S Pro offer names an R9DS receiver, so a separate R12DS may be unnecessary.
Affiliate disclosure: As an Amazon Associate we earn from qualifying purchases. This does not increase the price paid by the buyer.
What changed between the two builds
The most important progress is not simply the larger or smoother second hull. The photographs reveal a more systematic process: better sequencing, closer control of symmetry, a more deliberate approach to weight and earlier planning for service access and mechanical installation.
A good model is not finished when it looks convincing on its stand, but when structure, controls and trim work together on the water.
For Nik, the two sailboats were therefore more than leisure projects. They combined patience and craftsmanship with spatial thinking, problem-solving and practical engineering—the blend that continues to make model building so valuable.