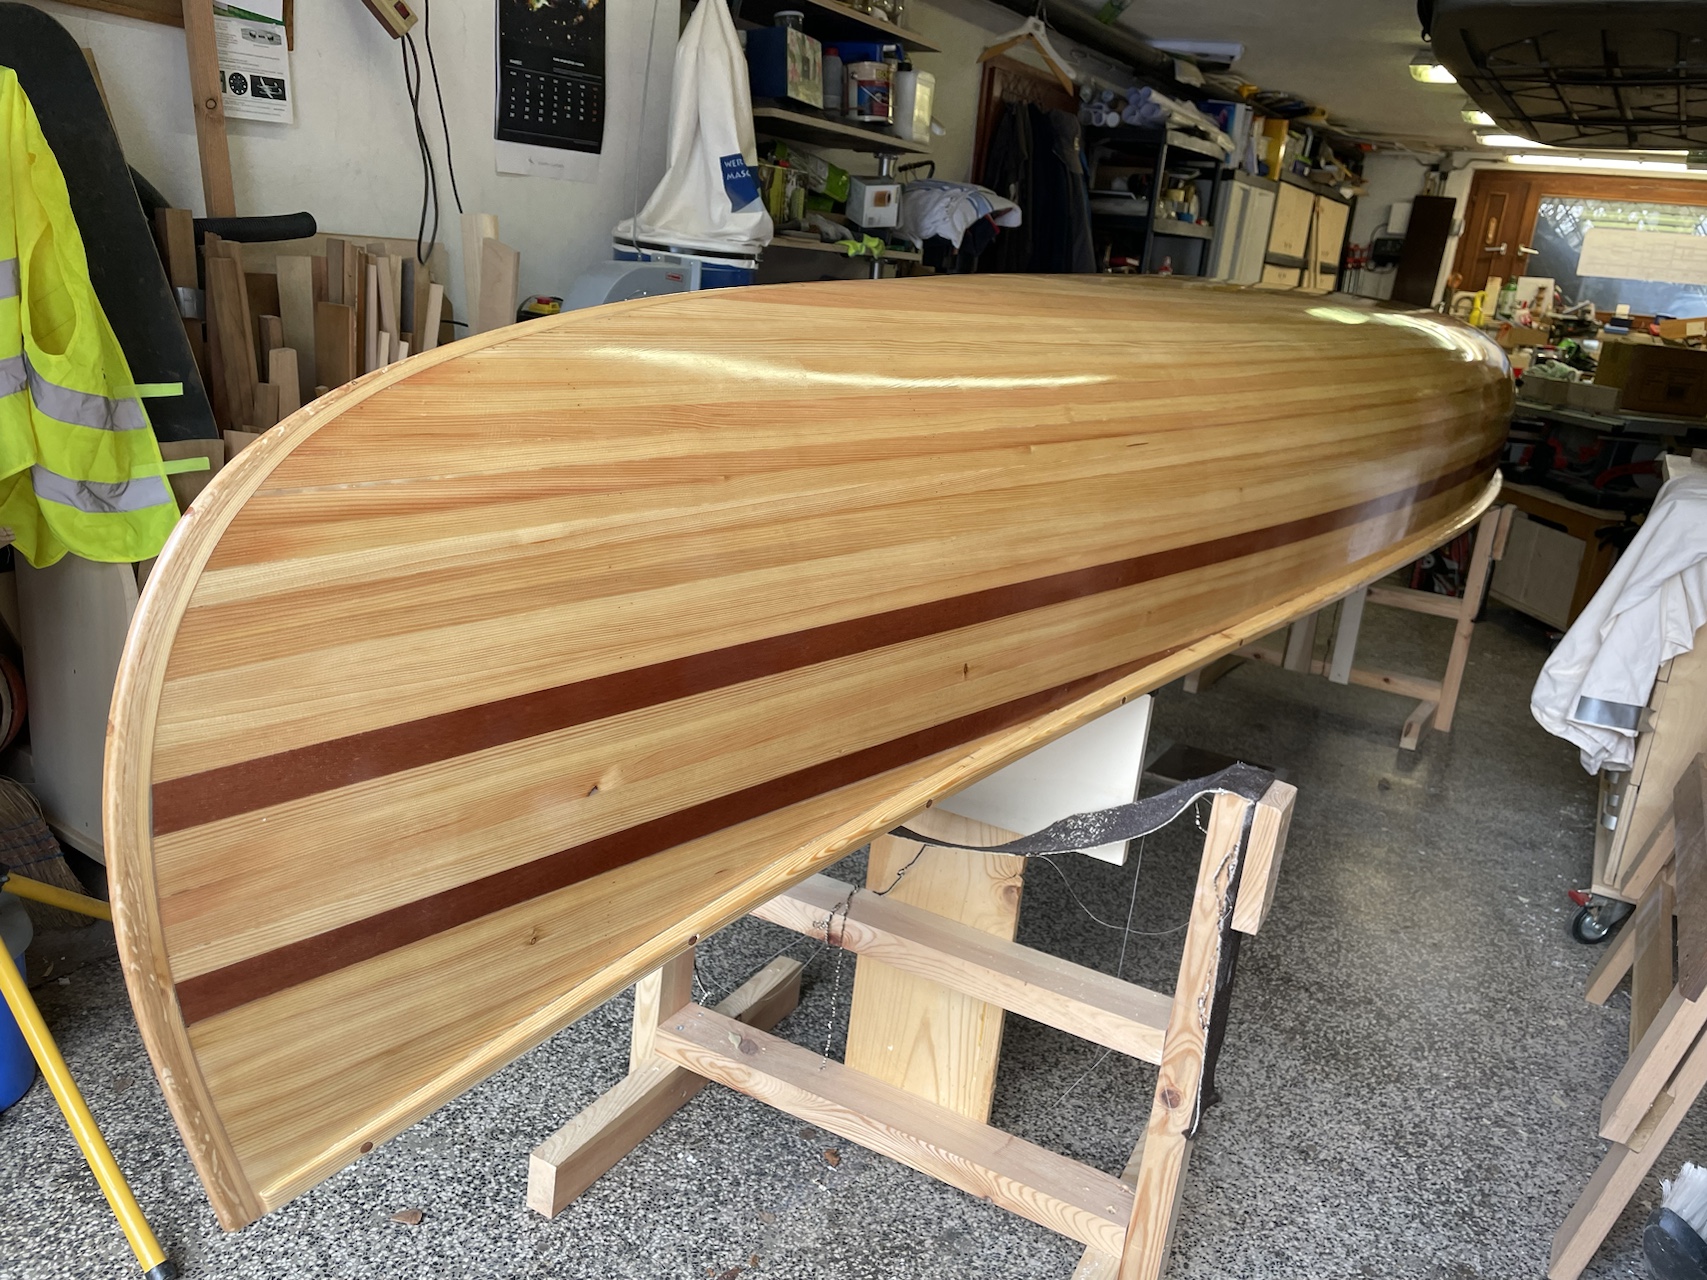
Building a Wooden Canoe: My Chestnut Prospector 16
Building a wooden canoe from narrow strips was one of the most demanding projects I have undertaken in my workshop. Working from plans purchased online from Canada, I built my own Chestnut Prospector 16 — the number refers to the canoe’s nominal 16-foot length. My records contain 156 documented working hours, with Nik and Abe helping during several important stages.
This article follows the project from rough timber and temporary building forms to the finished canoe on the water. The workshop photographs reveal the work that almost disappears in the completed boat: aligning hundreds of joints, shaping a continuous hull and applying fibreglass cloth with epoxy.
Plans, timber and the work before the build
The purchased Chestnut Prospector 16 plans provided the starting point. I chose Siberian larch for the hull strips, with mahogany and Douglas fir also appearing in my material records. The strongback and mould stations were made from 20 mm BB/BB poplar plywood.
Long before the hull began to resemble a canoe, there was a substantial amount of preparation: buying timber, cutting and planing the strips, shaping and sanding the mould stations, and assembling the strongback. My notes first refer to strips of approximately 6 × 20 mm and later to a planed dimension of 6.25 mm. These figures document my build; they are not a complete specification for reproducing the canoe.
Building the strongback and setting the mould stations
The long strongback carried a sequence of accurately positioned mould stations. Together they defined the canoe’s shape while the strips were added. They were temporary parts of the building form and would eventually be removed from the finished hull.
The stems at both ends required their own preparation. Thin pieces had to be bent, laminated and shaped before they could become clean transitions between the two sides of the hull.
A hull assembled one strip at a time
Planking took place over many separate workshop sessions. Each strip added only a small part of the surface, but gradually the open framework became a closed wooden hull. This photograph captures the moment when the canoe’s final form was already clear, even though much of the finishing work still lay ahead.
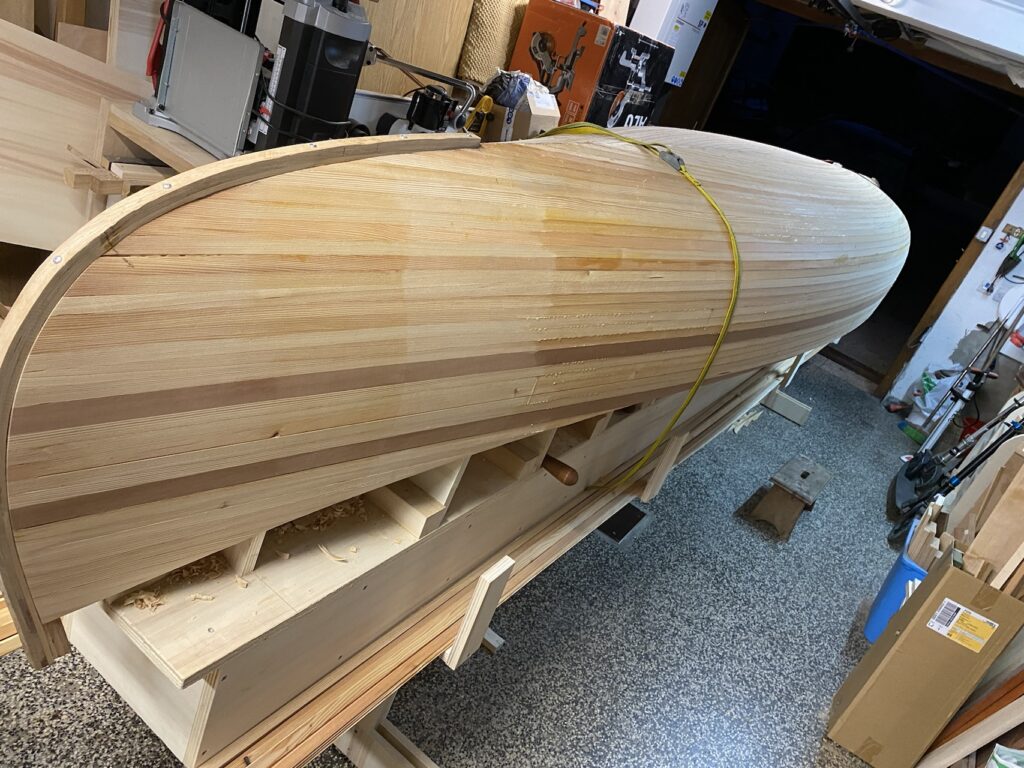
The variation in colour between the strips became part of the canoe’s final appearance. At this stage, however, every transition still had to be turned into one smooth, flowing surface.
Shaping the stems and both ends of the hull
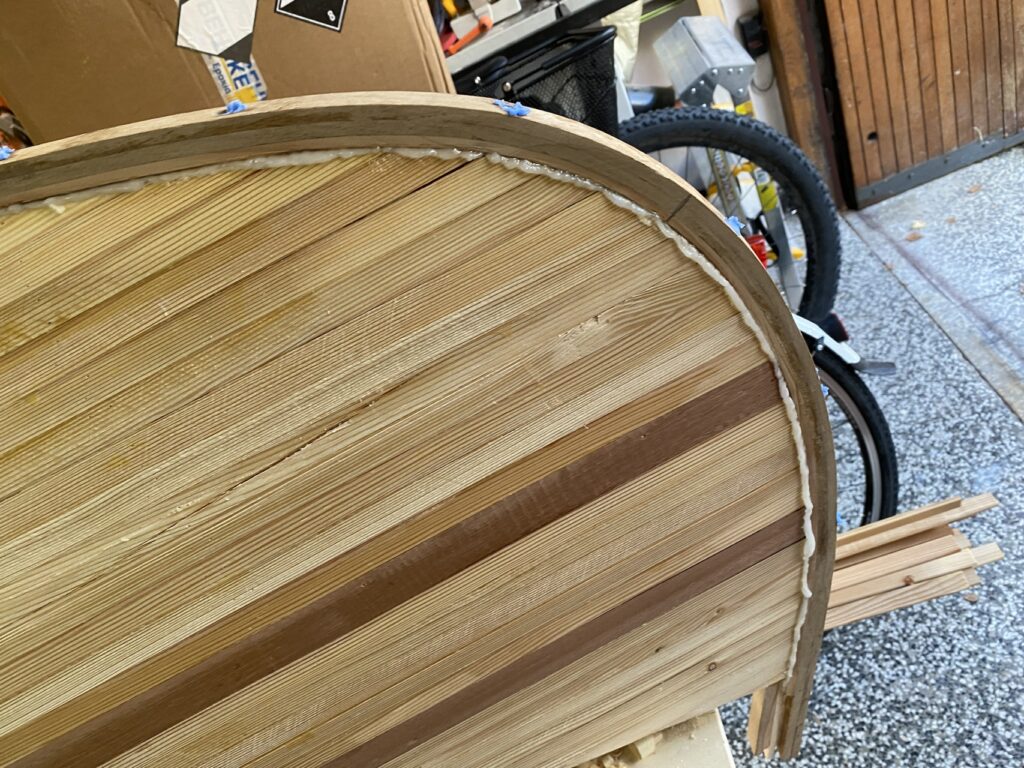
The stems returned throughout the build: bending, profiling, fitting the external pieces and refining their shape. The close-up shows how the strips converge at the end of the hull and meet the curved stem.
Planing, filling and sanding the hull
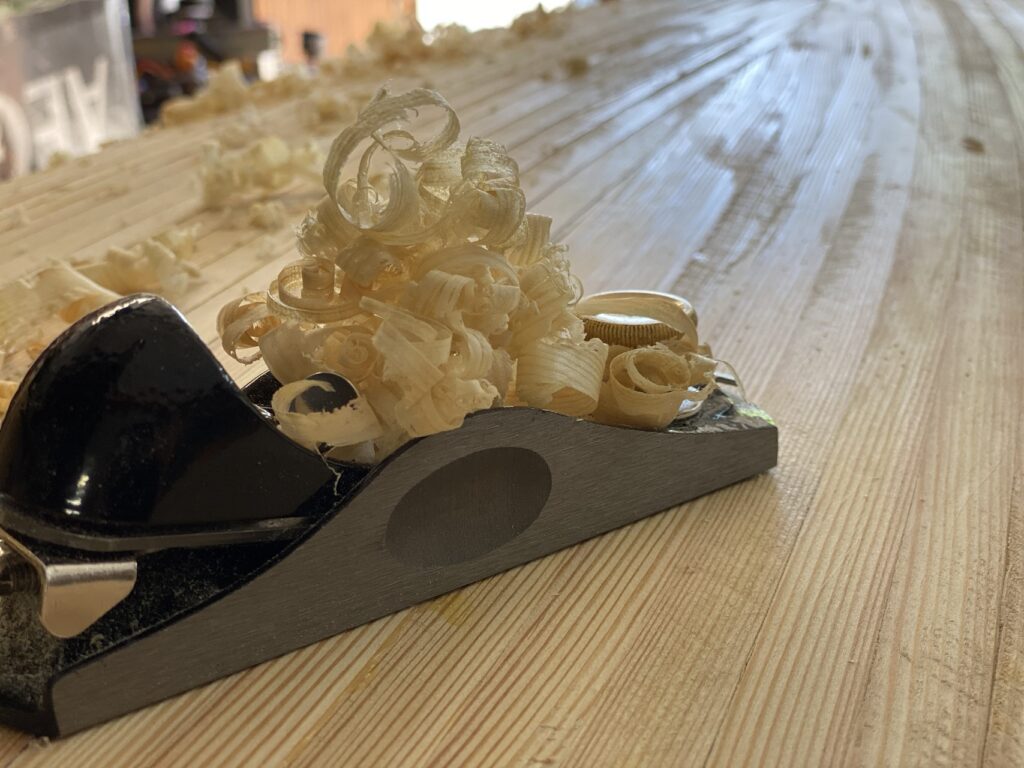
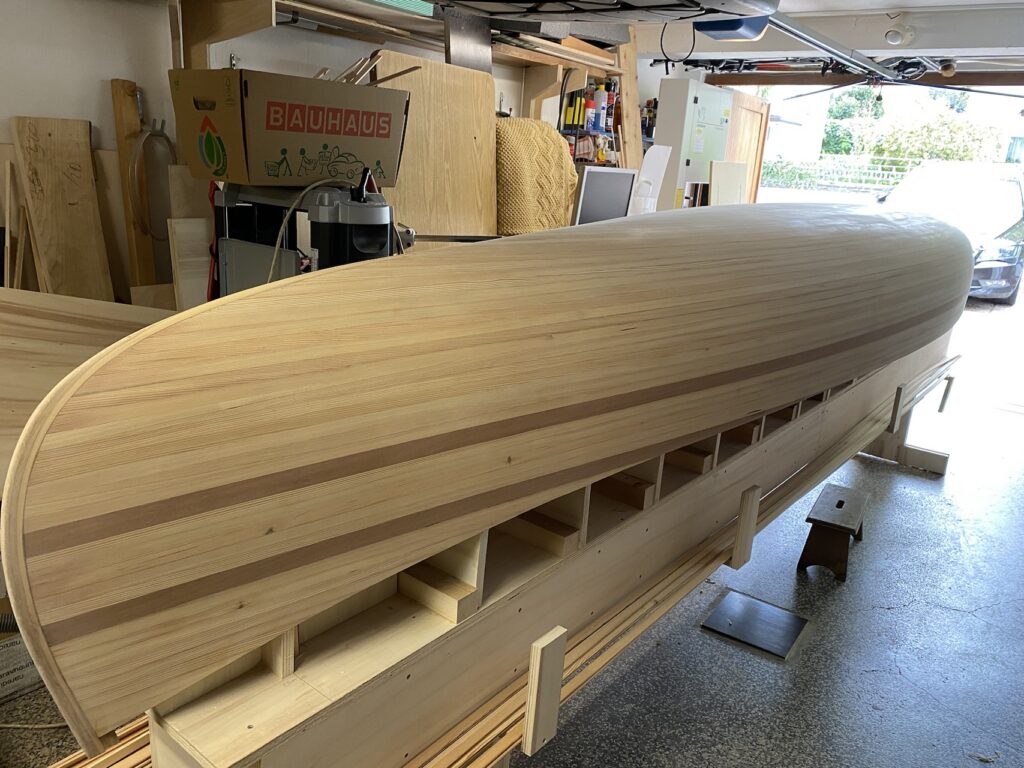
Once the planking was complete, the staples were removed and the hull was shaped with a hand plane. The shavings in the photograph are evidence of how much material had to be removed carefully rather than aggressively.
Sanding followed in several stages, with gaps filled using an epoxy-based fairing mixture. My notes mention coarse sanding with 60- and 80-grit abrasives, followed by further work at 120 grit. It was a sequence of repeated corrections rather than one final pass.
Fibreglass and epoxy on the outside
The outside was laminated with fibreglass cloth and epoxy. My records describe an initial application that saturated the cloth, followed by additional coats intended to fill the weave and provide enough material for the surface to be finished.
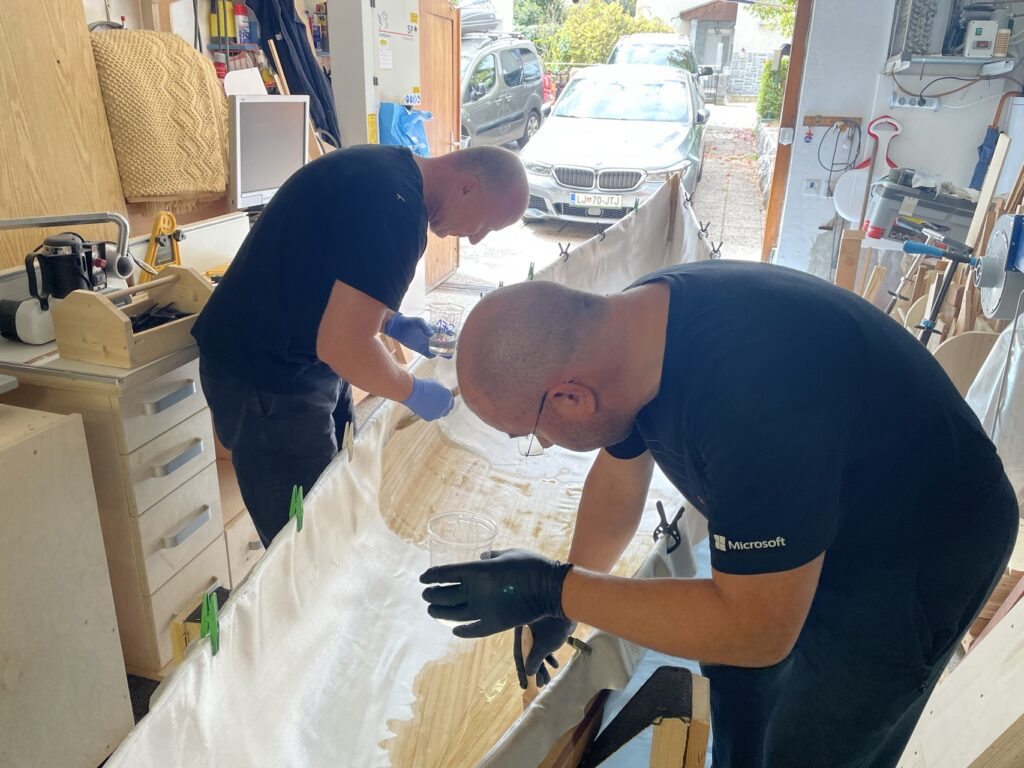
This was one of the stages where a second pair of hands made a real difference. The entire surface had to be processed consistently and within the working time of the resin. Mixing ratios and curing times depend on the specific epoxy system, temperature and manufacturer’s instructions, so my historical figures should not be treated as a universal lamination recipe.
From the building form to purpose-made stands
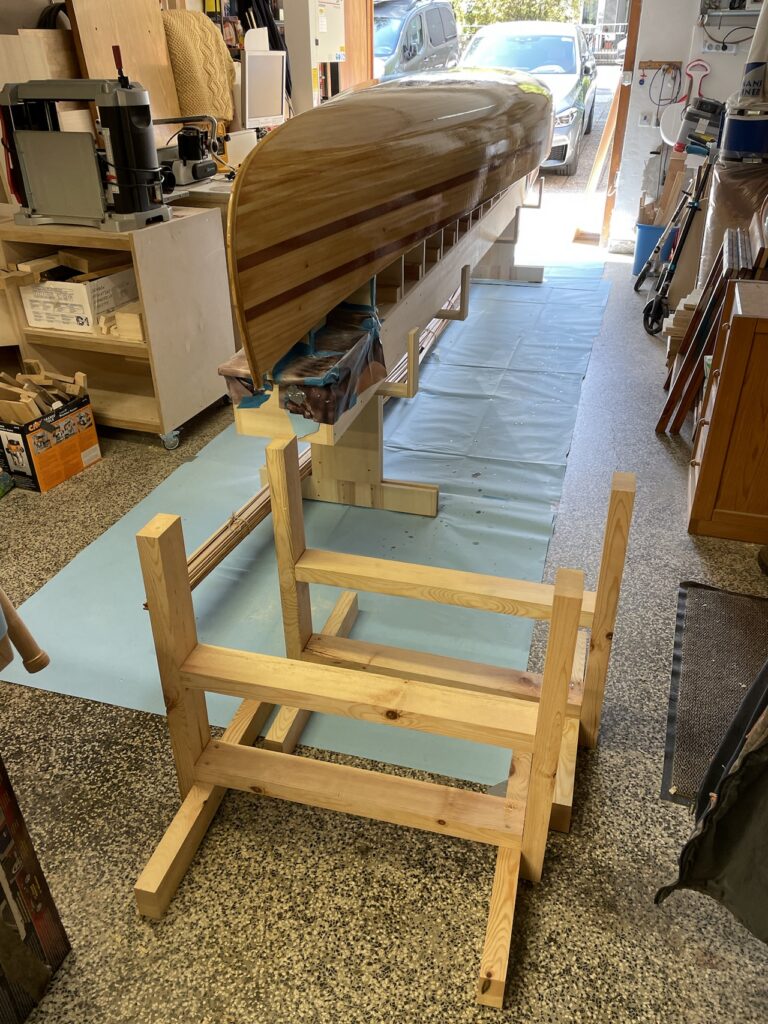
I made wooden stands to support the canoe during the remaining work. Once the hull was safely supported, the strongback and mould stations could be dismantled, finally exposing the inside.
Fairing and laminating the inside
The inside demanded another sequence of sanding, laminating, filling and coating. My time records specifically mention Abe’s help with sanding and laminating the interior, while Nik also assisted during other parts of the build.
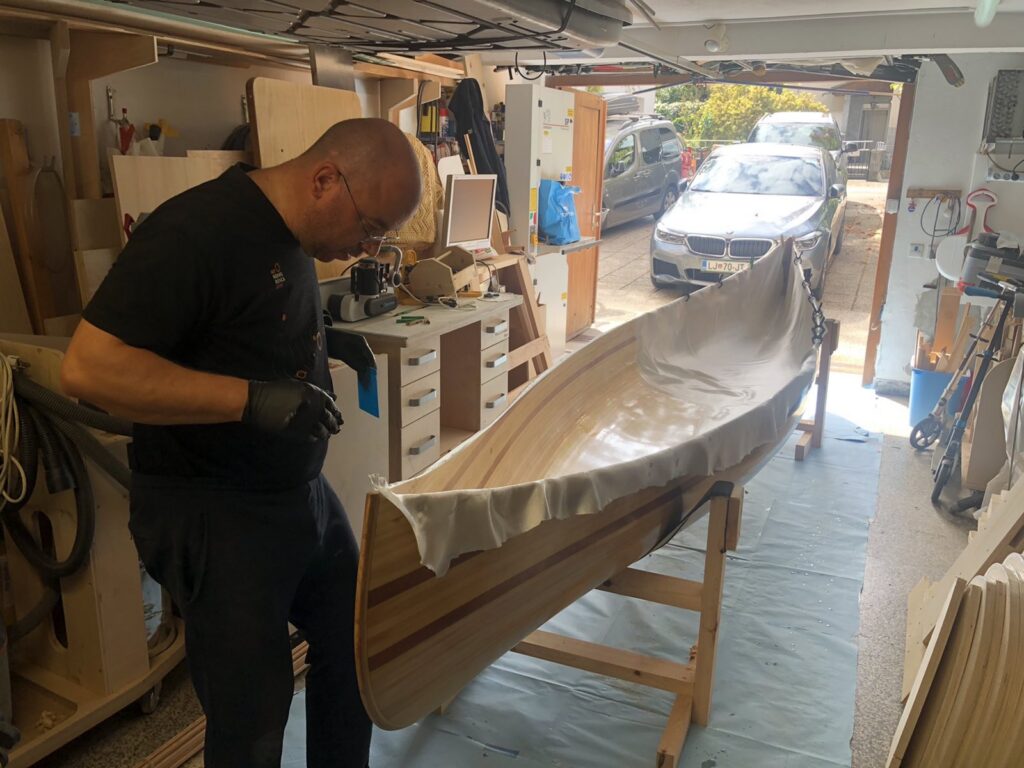
Concave surfaces are less convenient to sand and laminate than the outside of the hull. Only after this work was complete could the gunwales, seats and smaller structural components be fitted.
Gunwales and interior fittings
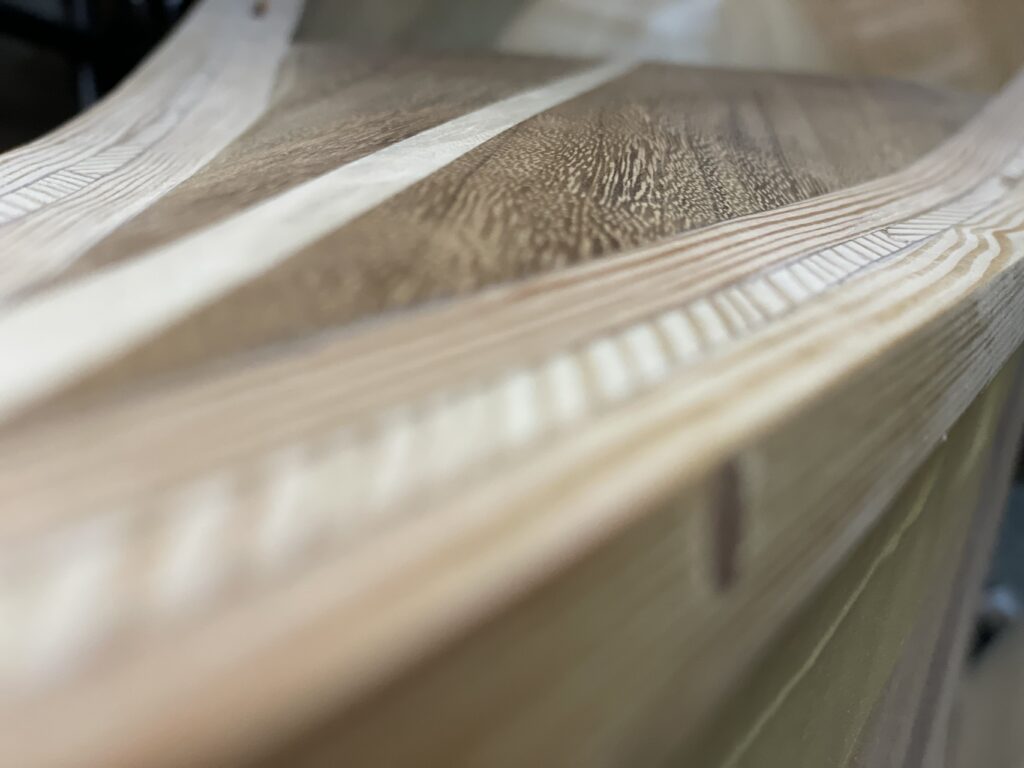
The gunwale stock had to be prepared, fitted and bonded carefully along both sides. I also made the seat frames, the small decks at each end and the central carrying yoke. The close-up shows part of the gunwale assembly while it was still being worked.
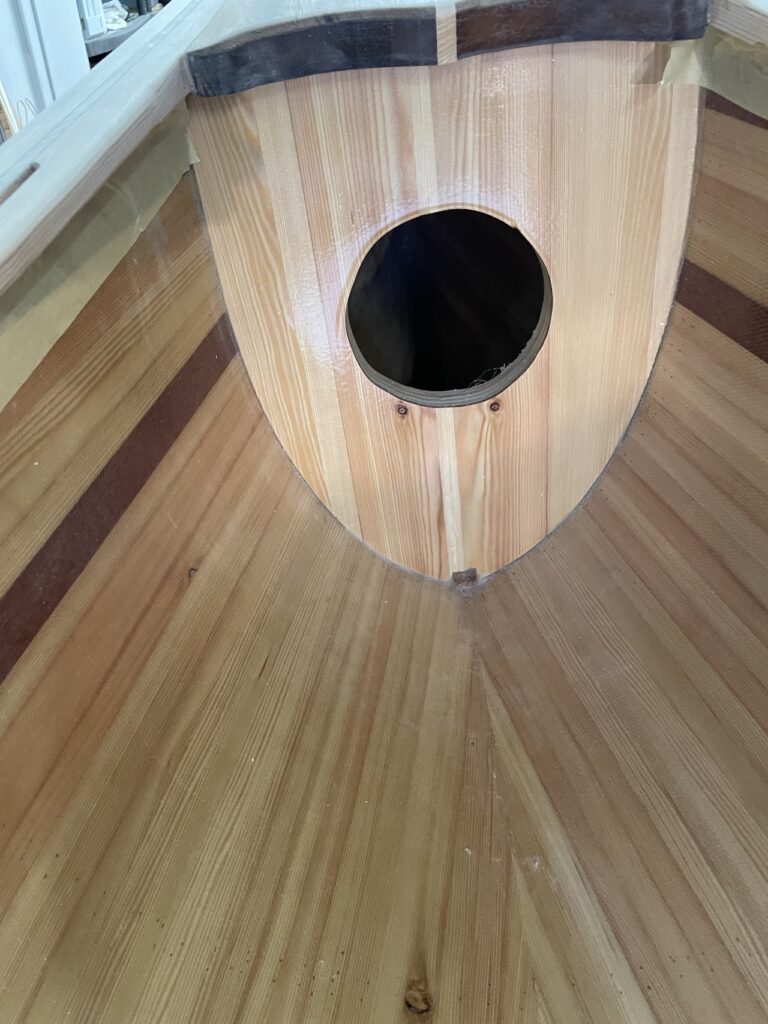
One deck contains a round access opening. My material list records the matching cover and fasteners; the photograph shows the detail before the cover was installed.
Handmade seats and two wooden paddles
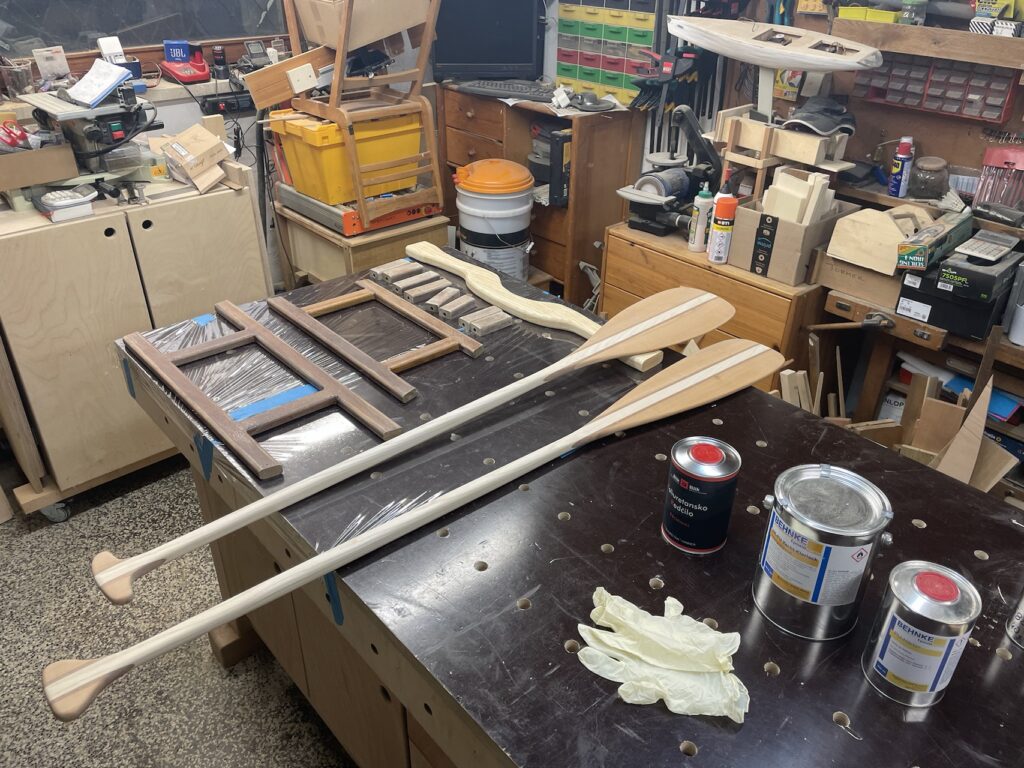
The project expanded beyond the hull. I laminated and shaped two wooden paddles, then finished them with varnish. The seat frames were also made in the workshop, fitted to the canoe and woven with webbing.
Varnishing — and correcting a finish that did not flow properly
Before varnishing, the canoe was hand-sanded inside and out. My records mention 180- and 240-grit abrasives for the final preparation. The seats and paddles received their own coats of varnish.
Not every coat behaved as expected. I noted that one exterior coat did not flow evenly and had to be sanded again with 240 grit before the next application. Final polishing was carried out with Abe. That extra work is part of the honest history of the build, even though it is invisible in the finished photographs.
The completed interior
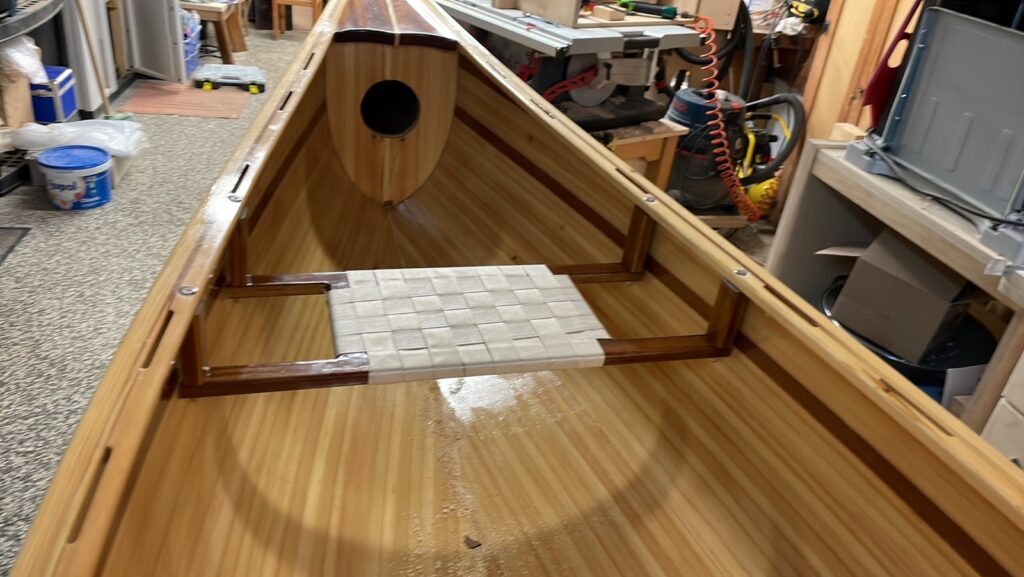
In the completed canoe, the individual stages finally come together. The strip pattern remains visible, while the gunwales, seats, decks and carrying yoke turn the laminated shell into a usable boat.
From the workshop to the water
After so many hours under workshop lights, seeing the canoe at the lake changed the perspective completely. The following photographs show the varnished hull, both woven seats and the two handmade paddles as a single finished project.
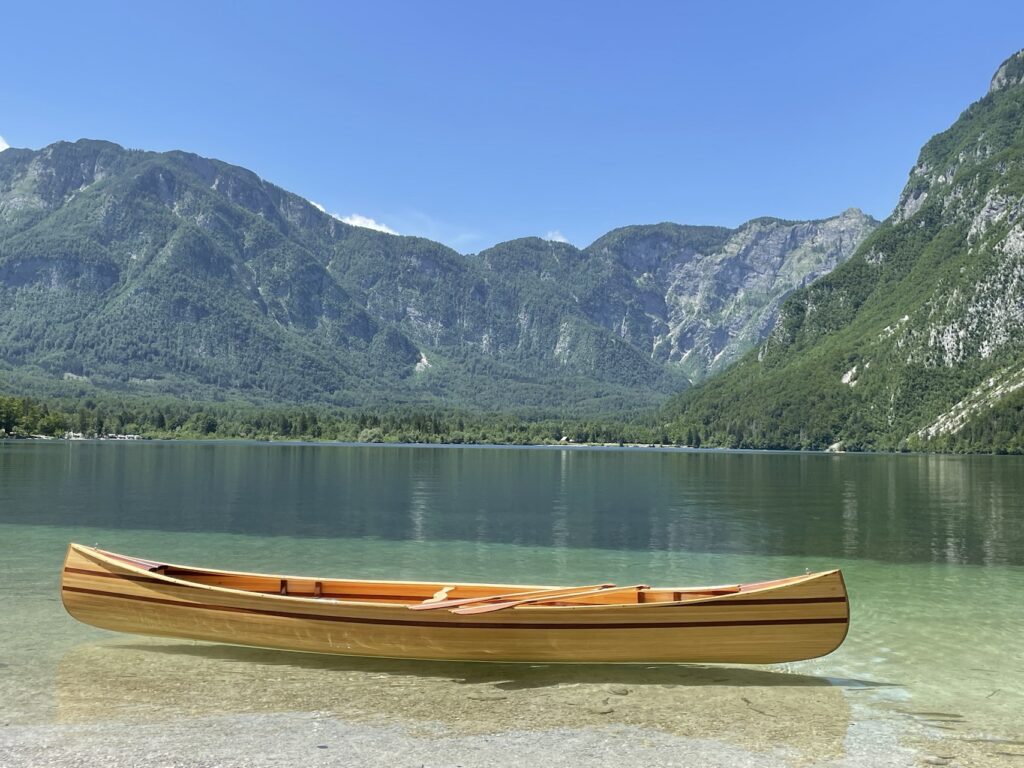
The side view reveals the complete hull profile and the darker accent strips. In sunlight, the grain and the long fair curves become far more visible than they were in the workshop.
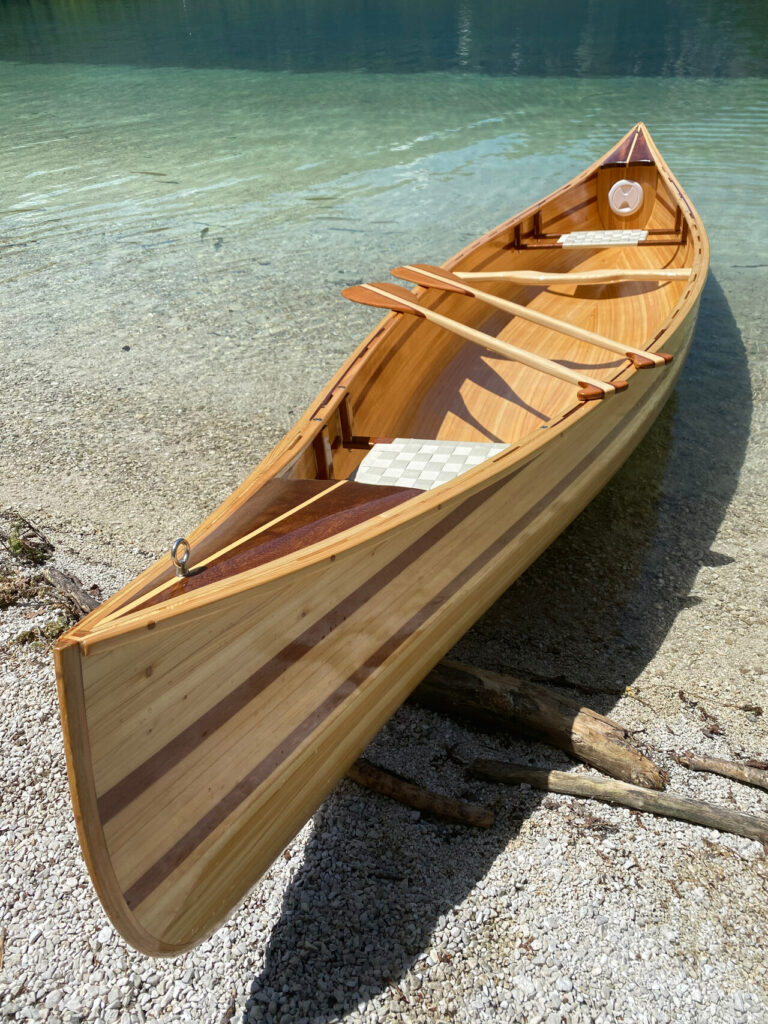
Looking into the finished boat completes the story told by the workshop images. The seat frames are woven, the round opening is closed and the paddles lie across the gunwales ready for use.
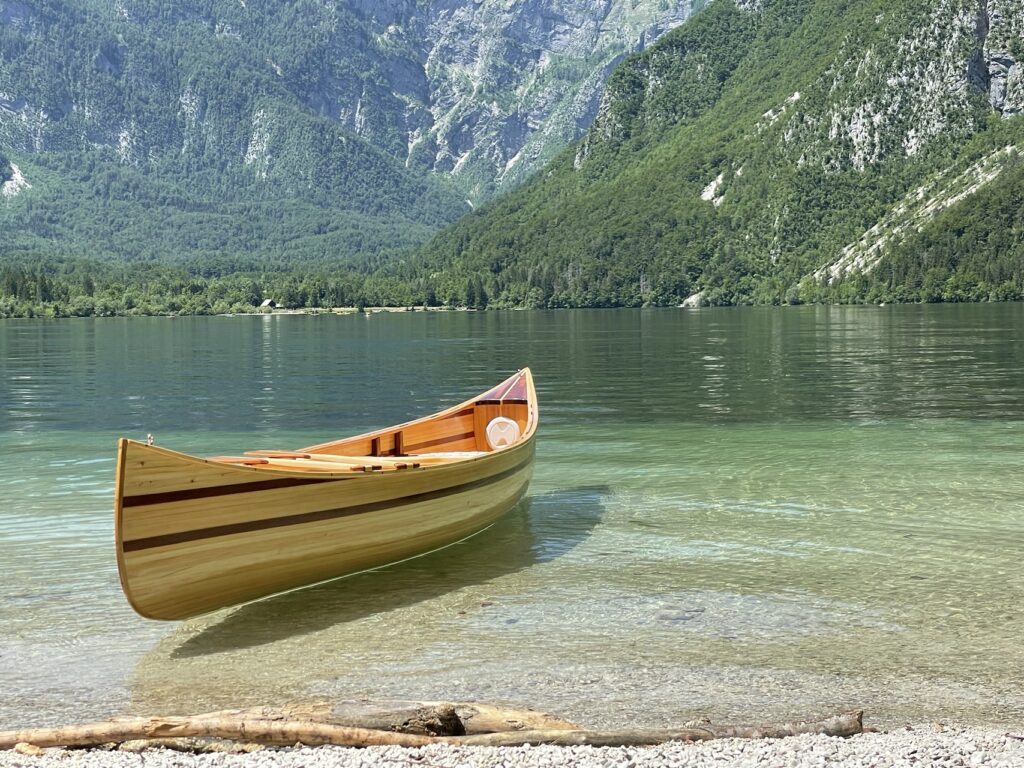
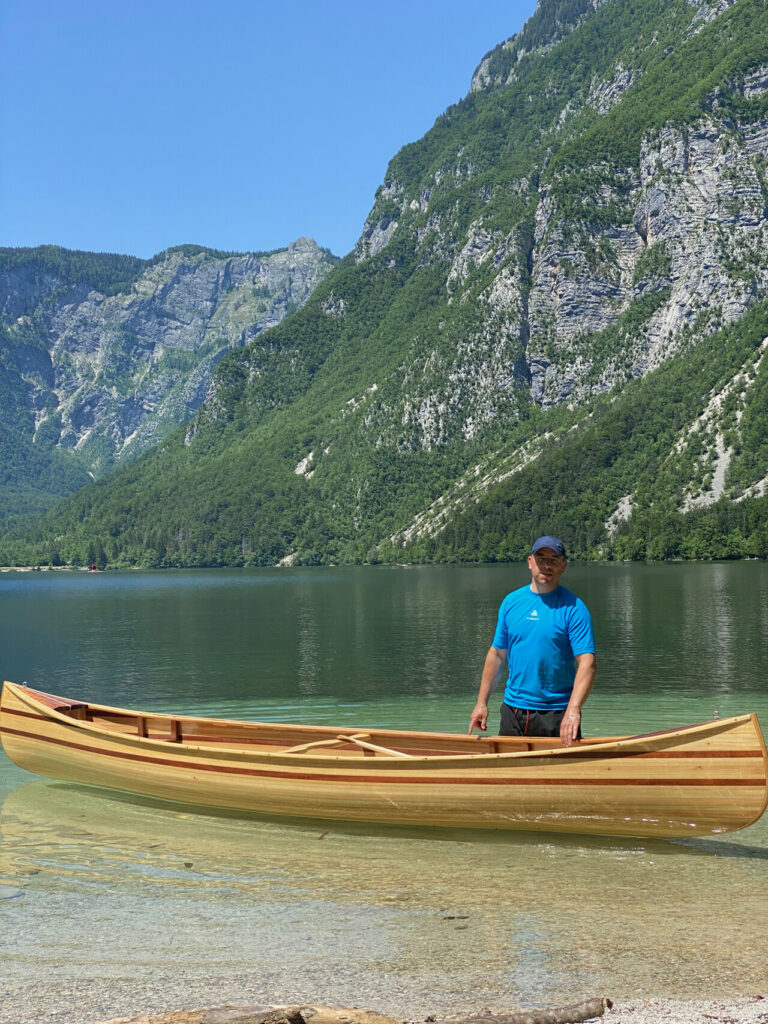
156 documented hours and the real project cost
My records finish at 156 hours. Several entries describe work carried out by two people, so this should be understood as the number recorded in my project log rather than a reliable total of every person-hour contributed by everyone involved.
| Item | Amount |
| Poplar plywood for the strongback and mould stations | €290 |
| Larch, mahogany and Douglas fir | €350 |
| Fibreglass cloth, epoxy, marine varnish and supplies | €300 |
| Hand stapler | €40 |
| Adhesive and abrasive paper | €30 |
| Access cover and fasteners | €50 |
| Seat webbing | €20 |
| Polishing supplies | €20 |
| Recorded expenditure | €1,100 |
| Income from selling the mould stations | −€360 |
| Expenditure after sale proceeds | €740 |
| 156 hours valued at €20 per hour | €3,120 |
| Total including this labour valuation | €3,860 |
This is my historical cost record, not a current quotation for building the same canoe. The purchased plans were not listed as a separate cost. My notes also show that roughly half a sheet of plywood and around 30 percent of the purchased timber remained, while the hand stapler could be reused on later projects.
The €3,120 labour figure is a calculated valuation, not an additional cash payment. Selling the mould stations reduced my net expenditure but did not change the quantity of material originally purchased.
What this project really documents
The finished canoe is only the visible result. Most of the project consisted of less dramatic but essential work: preparing timber, building an accurate form, adding the strips, fairing the hull, laminating both sides and producing the interior fittings. The photographs and time records preserve that process, including corrections and the help I received from Nik and Abe.
This article documents my own build. It does not replace the purchased plans or provide a complete set of verified dimensions, structural calculations, material specifications or load ratings. Anyone undertaking a similar project should work from suitable plans and follow the safety and processing instructions supplied with the chosen materials.