Adirondack Garden Furniture in Itaúba: A Project from My Workshop
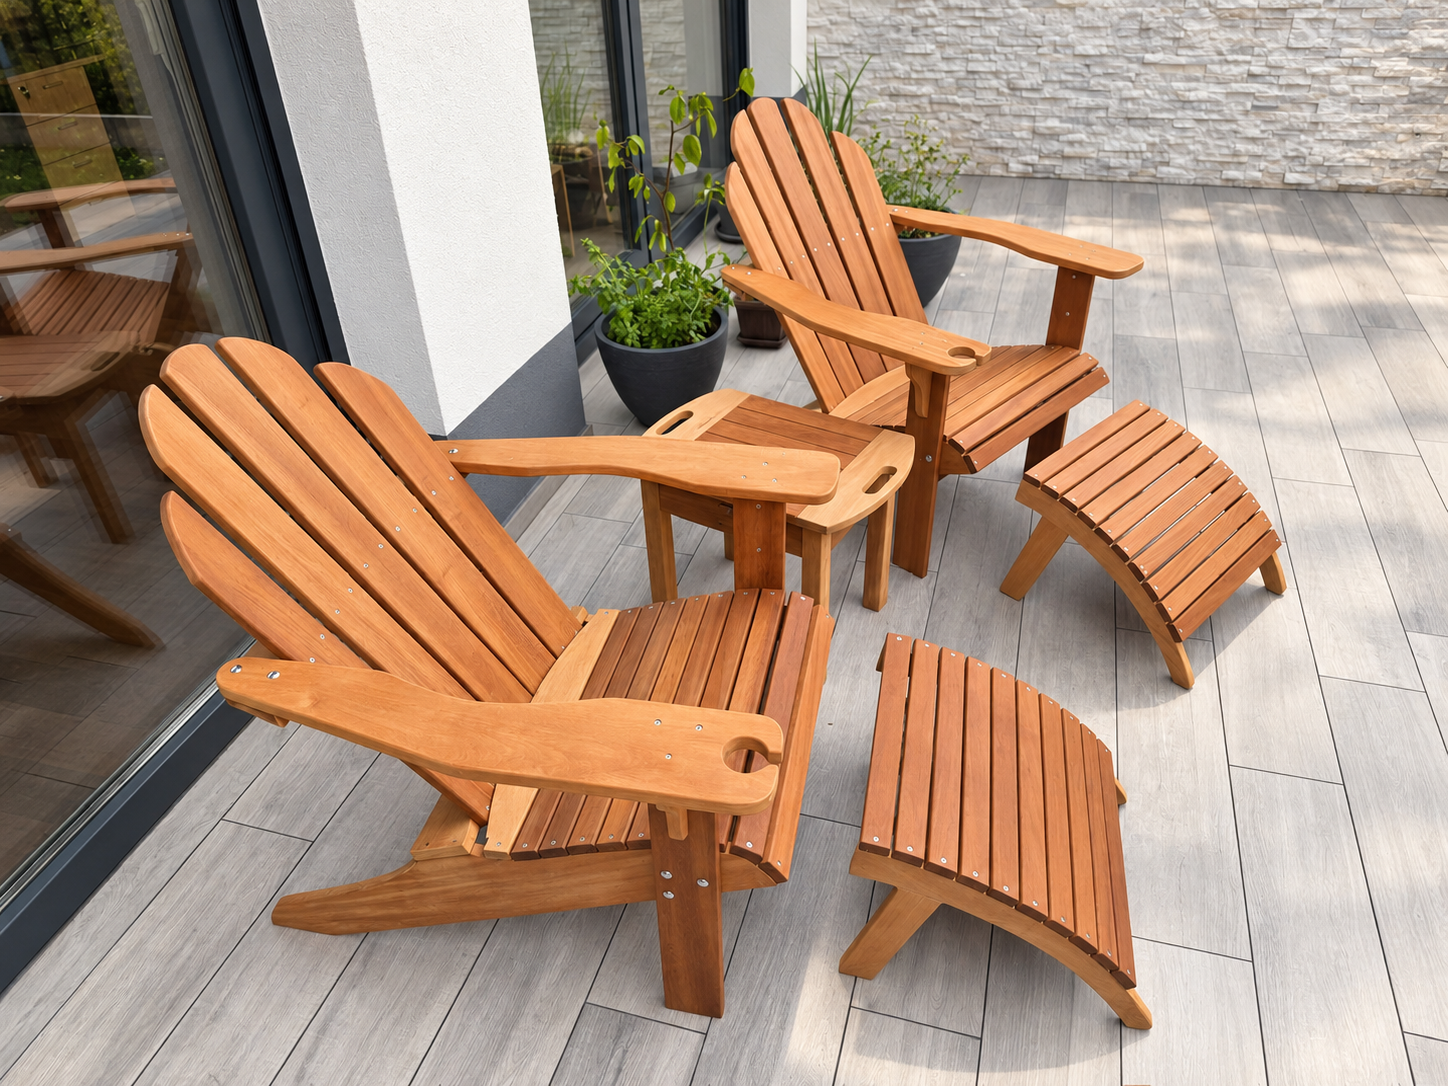
Two Adirondack chairs, matching footrests and a small table: I built this set from Louro Itaúba in my own workshop. The photographs show different stages of assembly as well as the finished result. This article presents each piece and the construction details visible in the workshop images.
A matching set for the terrace
The two chairs form the centre of the set. They are accompanied by two separate footrests and a small side table. Repeated curves, the arrangement of the wooden slats and the shared timber species visually connect all the pieces.
Because the footrests are separate, they can be positioned independently of the chairs. The table provides a useful surface between the seats. The individual pieces can therefore be arranged in different ways on the terrace.
The timber: Louro Itaúba
I used Louro Itaúba for this project. Itaúba originates in South America and is known for its high natural durability. That was one of the reasons I chose it for outdoor furniture.
Natural durability does not mean that timber remains unchanged outdoors. Exposure to weather can alter both its colour and surface. Applying a finish to preserve a particular appearance is a separate issue from the wood’s natural resistance. Even durable timber should be detailed so that water cannot remain trapped.
A look at the build: the chair frame
One workshop photograph shows a chair during assembly, before the seat and backrest were fully covered with slats. The frame is therefore still clearly visible, with several clamps holding the parts in position.
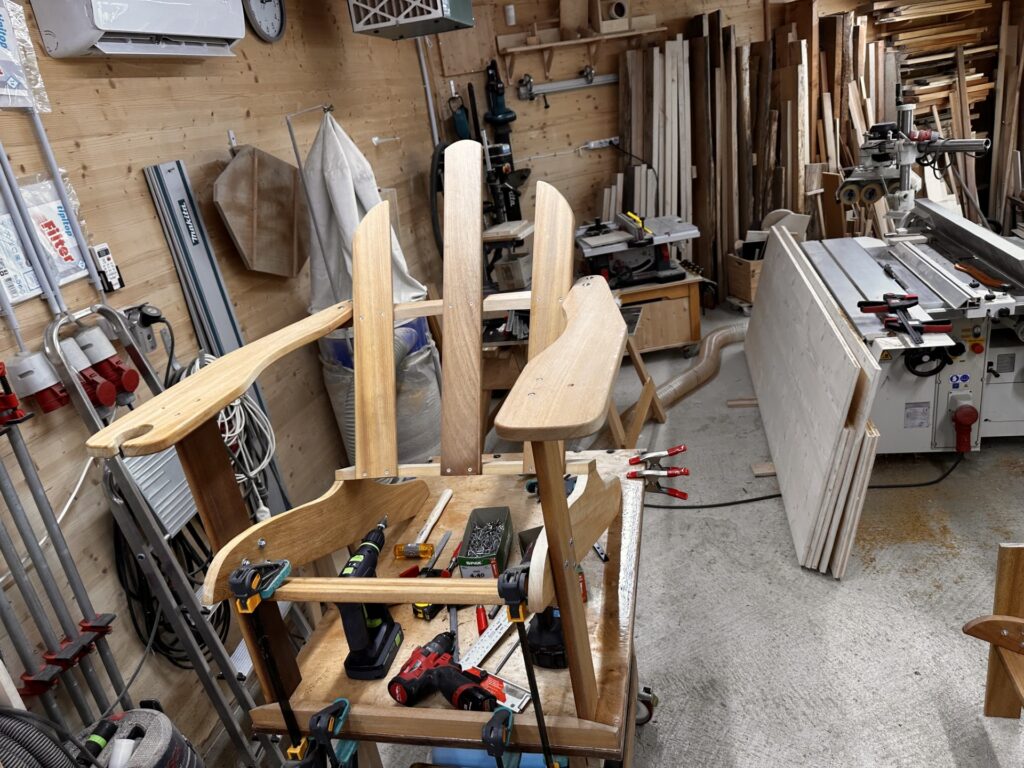
Intermediate stages like this are particularly useful when documenting a project. On the finished chair, the slats conceal part of the structure; here, the relationship between the side components and armrests is much easier to see.
One-handed clamps are especially useful when I work without assistance. I also discuss how I use different types of clamps in my workshop in Pipe Clamps, Screw Clamps and One-Handed Clamps.
A seat and backrest made from individual slats
The front view shows the slats arranged side by side across the seat and backrest. Together, the upper ends of the back slats form a rounded outline, while visible gaps remain between the individual pieces.
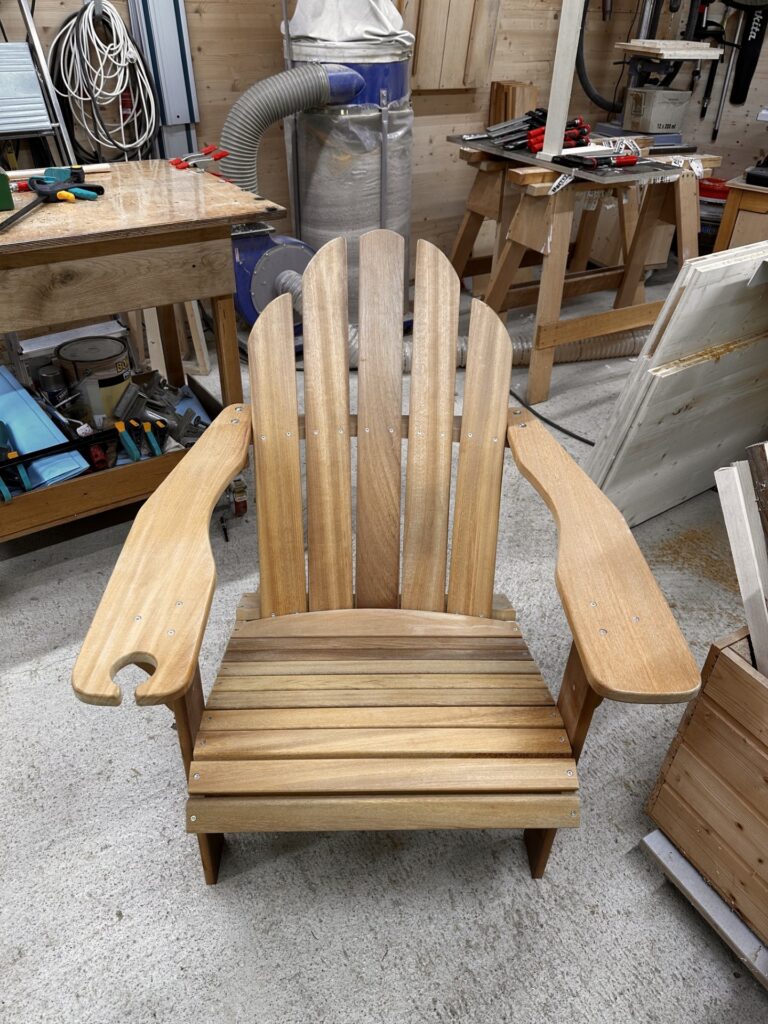
The side view reveals the reclined seating position. The backrest, seat and lower frame combine to create the chair’s characteristic profile, complemented by the wide armrests.
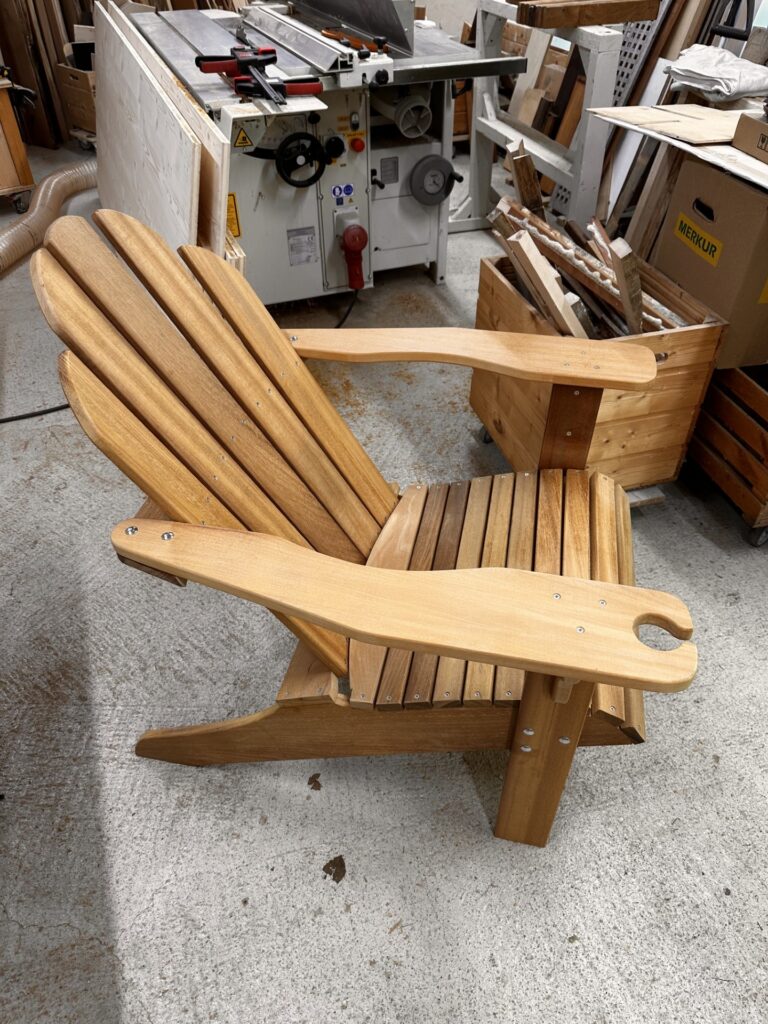
The photographs also show circular openings in the armrests and visible screw connections. They document these details but do not replace a measured drawing with dimensions and joint locations.
Two matching footrests
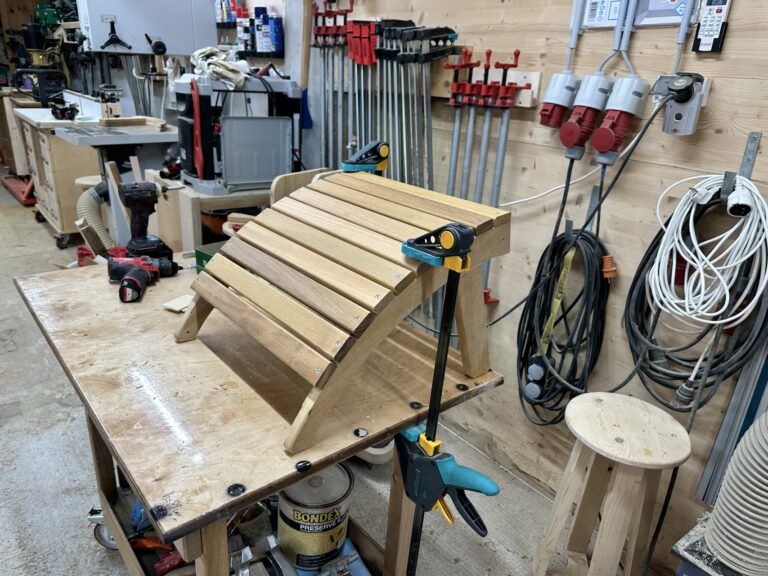
The two footrests repeat the slatted design of the chairs. Their supporting surfaces follow a curved profile. Placed next to each other on the workbench, their shape and the supporting side pieces underneath can be compared easily.
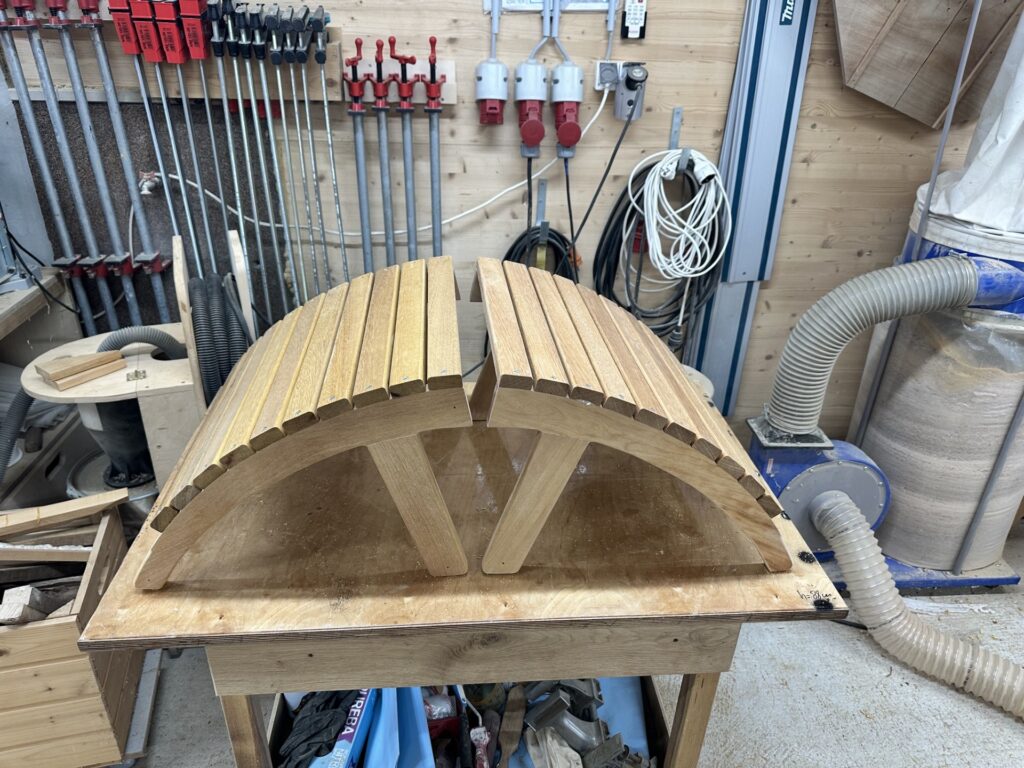
The side view shows how the individual slats sit on shaped supports. Images like this complement a photograph of the complete set because they make the form of a single component easier to understand.
The side table: a view beneath the top
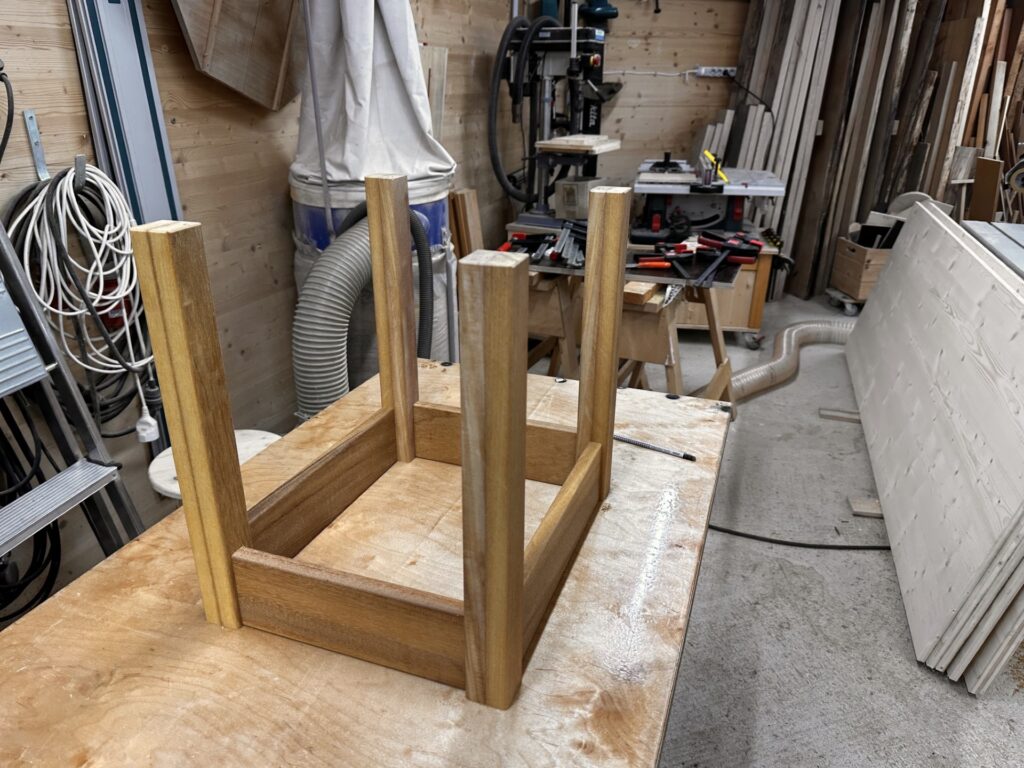
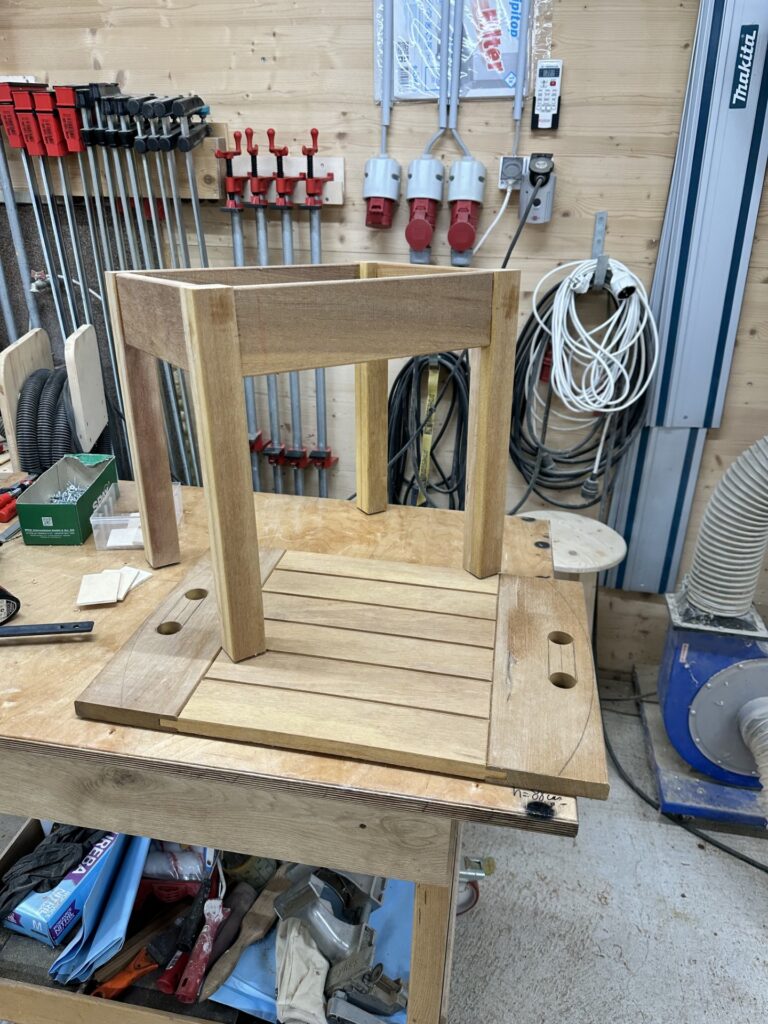
A small table completes the set. One photograph shows it upside down on the workbench, revealing the frame beneath the top and the arrangement of its four legs.
Another workshop photograph shows the table upright. Its top is also made from parallel wooden slats, repeating a design feature used on the chairs and footrests.
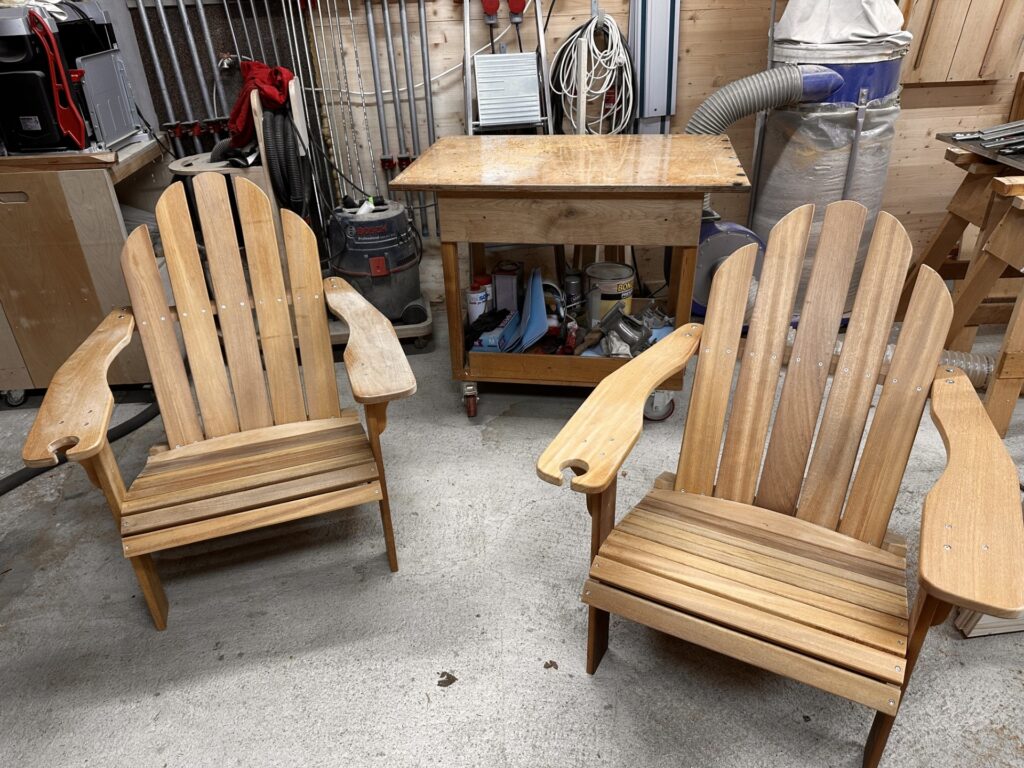
The two chairs in the workshop
A shared photograph shows both chairs after assembly in the workshop. Their repeated forms are easy to compare: rounded backrests, wide armrests and seats built from individual slats.
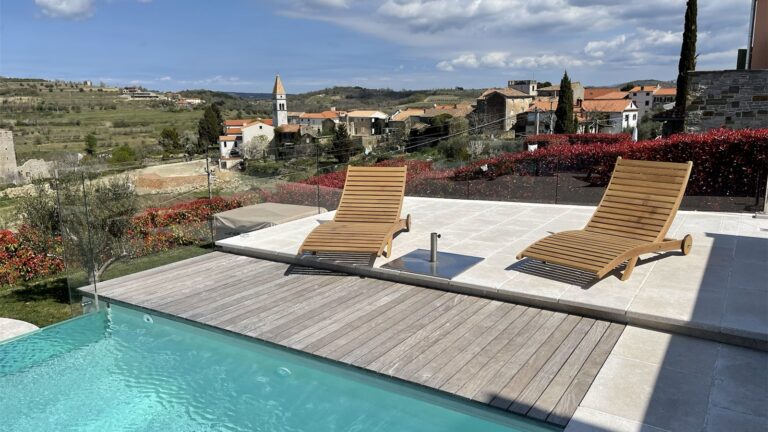
On the terrace, the footrests and table complete the arrangement. The featured image shows the whole set in its intended location.
What this article documents
This article documents my own garden-furniture project through workshop photographs. It shows the furniture at several stages of assembly and as a finished set. A complete building guide would additionally require dimensions, material thicknesses, joint details and a verified sequence of work.
Image note: the featured image was edited with AI assistance. The photographs in the article show the actual project in my workshop.