When wood is too wide for the planer: my homemade router flattening sled
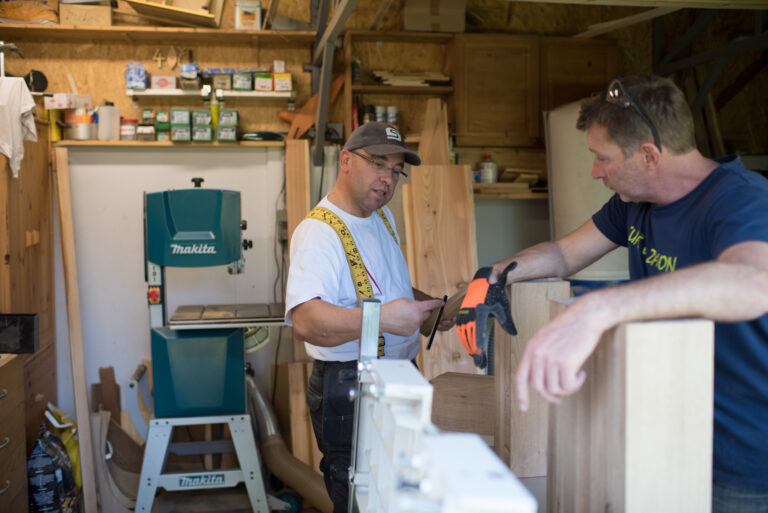
When working with wood, sooner or later you reach a project that exceeds the capacity of a home workshop. A machine can be perfectly capable, yet the workpiece is simply too wide. In my case, it was a large cutting board that would not fit my jointer or thickness planer.
For jobs like this, I built a modular flattening sled from individual components, using guide rails and a router. It is intended for flattening wide slabs, glued-up panels and thick pieces of timber. Its first test was a cutting board; the next major challenge will be a solid oak kitchen table measuring 250 × 100 centimetres.
How home woodworkers tackle oversized projects
In a home workshop, ambitions have to fit the available space and equipment. Buying a large machine for an occasional tabletop can be difficult to justify when it would spend most of its time unused. One practical solution is a jig that allows an ordinary router to work over a much larger surface.
These jigs are commonly called router sleds or slab flattening jigs. Designs range from wooden rails with a simple plywood bridge to assemblies using metal rails and bearing carriages. They all share the same principle: the workpiece remains stationary while the router moves above it in a defined plane. WOOD Magazine’s “Flattening with a Router” demonstrates a shop-made version of this approach.
This is particularly useful when you want to keep a wide piece of wood intact. A beautiful live-edge slab or an already glued-up panel can retain its intended form even when it exceeds the working width of the machines in the workshop.
A proven approach in larger workshops too
Router flattening also has a place in furniture making with large solid timber slabs. In Fine Woodworking, Nick Offerman presented his own jig for flattening thick slabs for tables. His design uses a simple carriage to guide the router across the surface, removing the high spots while retaining as much usable thickness as possible. Reference: “Level Big Slabs in No Time Flat”.
That is where I see the value of workshop-made jigs. A well-considered structure extends the usefulness of tools we already own and makes projects more achievable at home.
My version: rails, a moving bridge and a CMT router
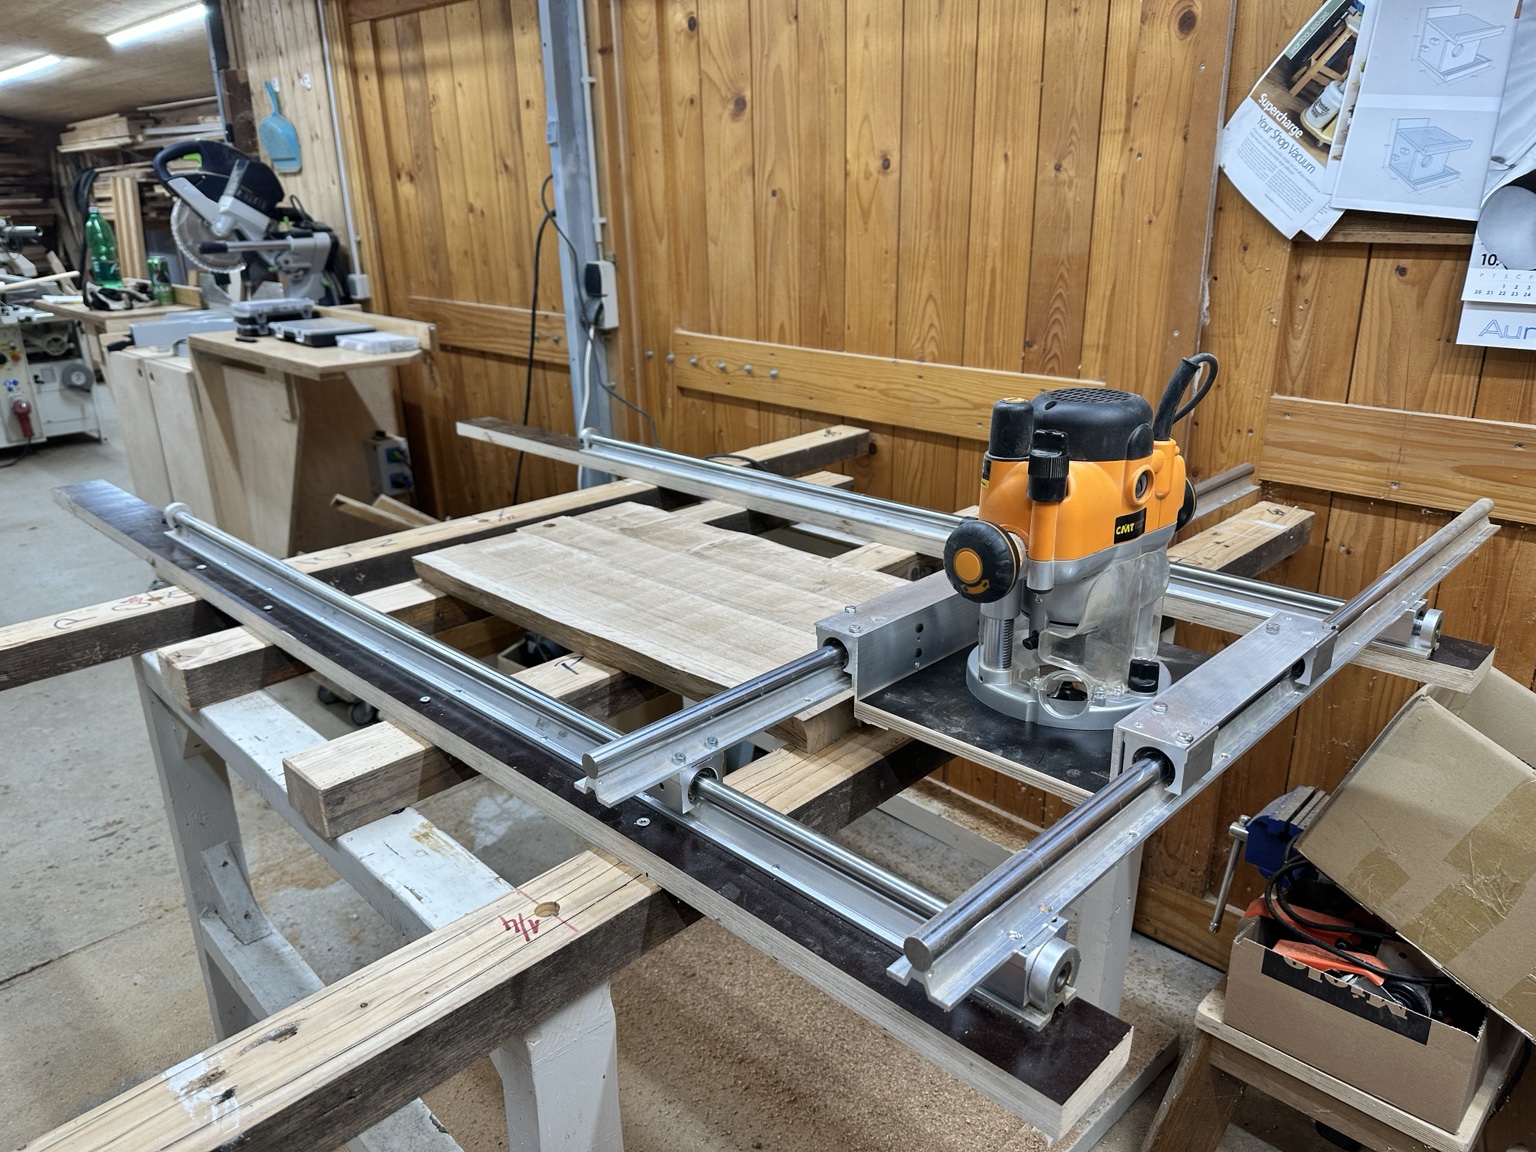
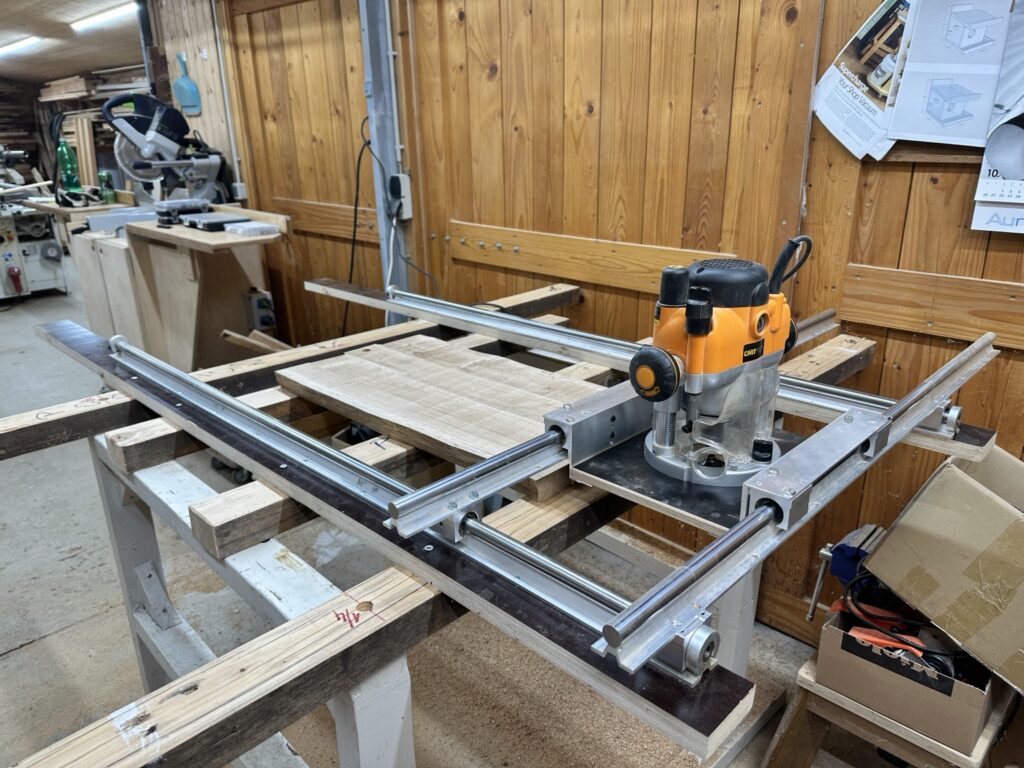
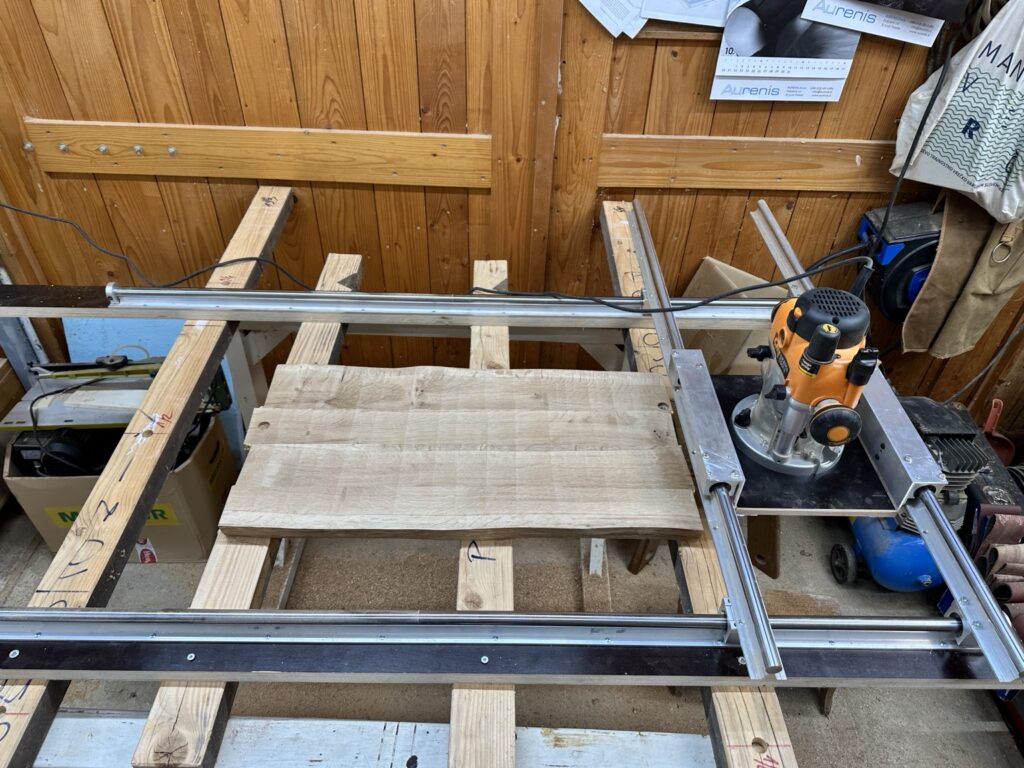
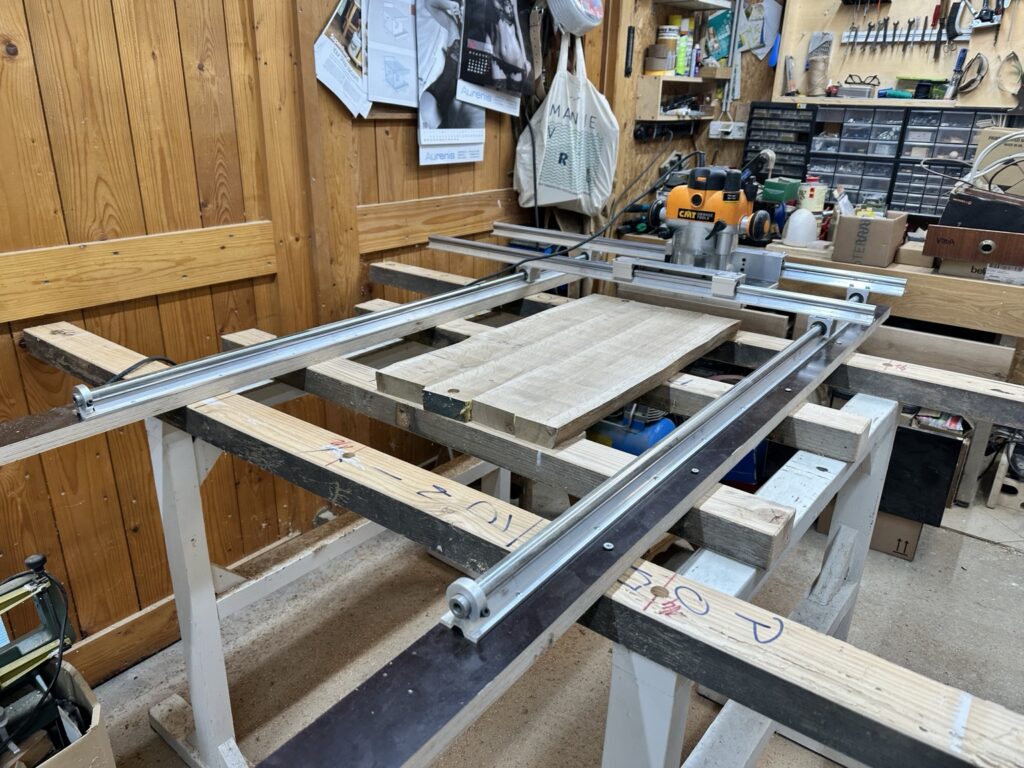
I assembled the jig myself from purchased components and a supporting structure. Two longitudinal rails carry a cross-slide assembly with a mounting plate for the CMT router. Movement in two directions allows the cutter to reach the entire surface beneath the sled in a series of passes.
The photographs clearly show the arrangement: longitudinal rails along the sides, a cross bridge and the router mounting plate. This layout provides a clear view of the work and controlled guidance of the router.
An important feature of my version is that it can be assembled when needed. In a home workshop, that is a significant advantage: the same space is also needed for other processes and projects.
Accuracy begins with the setup
The router follows the rails, so the entire jig must be set up correctly. Both sides must establish a common plane, and the cross member must be sufficiently rigid to maintain its position under the router’s weight and during cutting.
Supporting the wood matters too. If the workpiece rocks, or clamps force it into a distorted shape, the surface is being machined in the wrong position. Irregular stock therefore needs stable shimming and secure restraint that prevents movement while keeping the cutter’s path clear. Woodcraft’s “Super Slab-Milling Jig” shows a practical example of this setup.
It helps to distinguish between level and flat. What determines the result is the relationship between the rails and the workpiece: the whole system must guide the cutter in a single plane.
First test: an oversized cutting board
The test project in the photographs is a glued-up cutting board. Its width was the reason I used the new sled instead of my jointer and thickness planer.
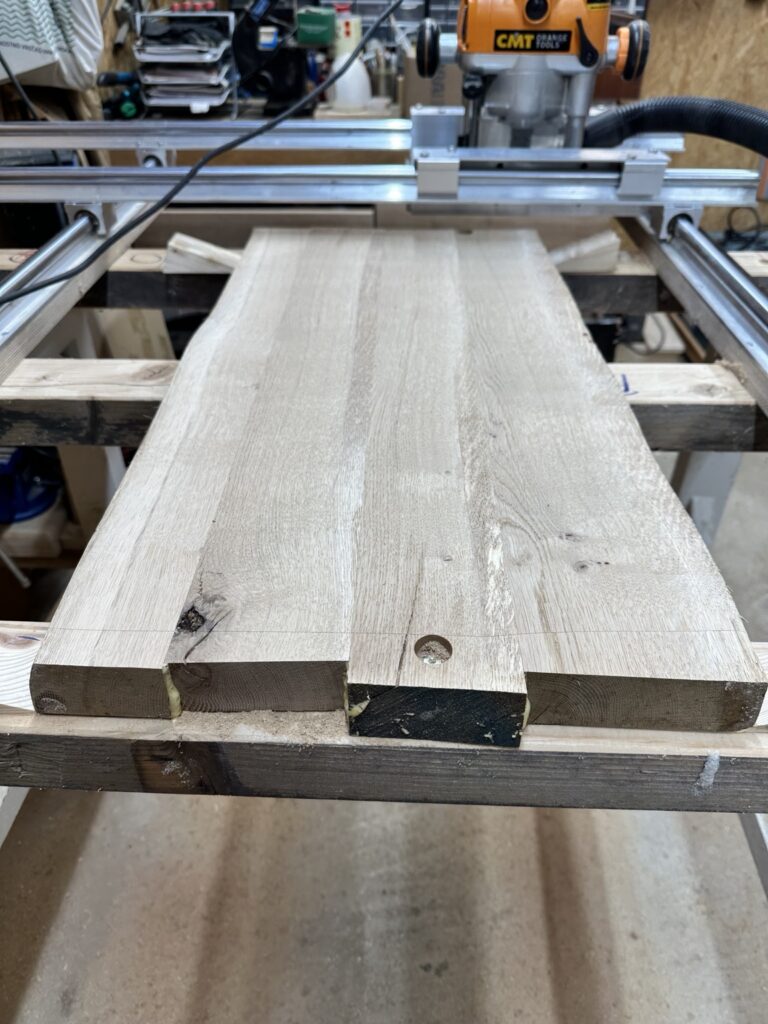
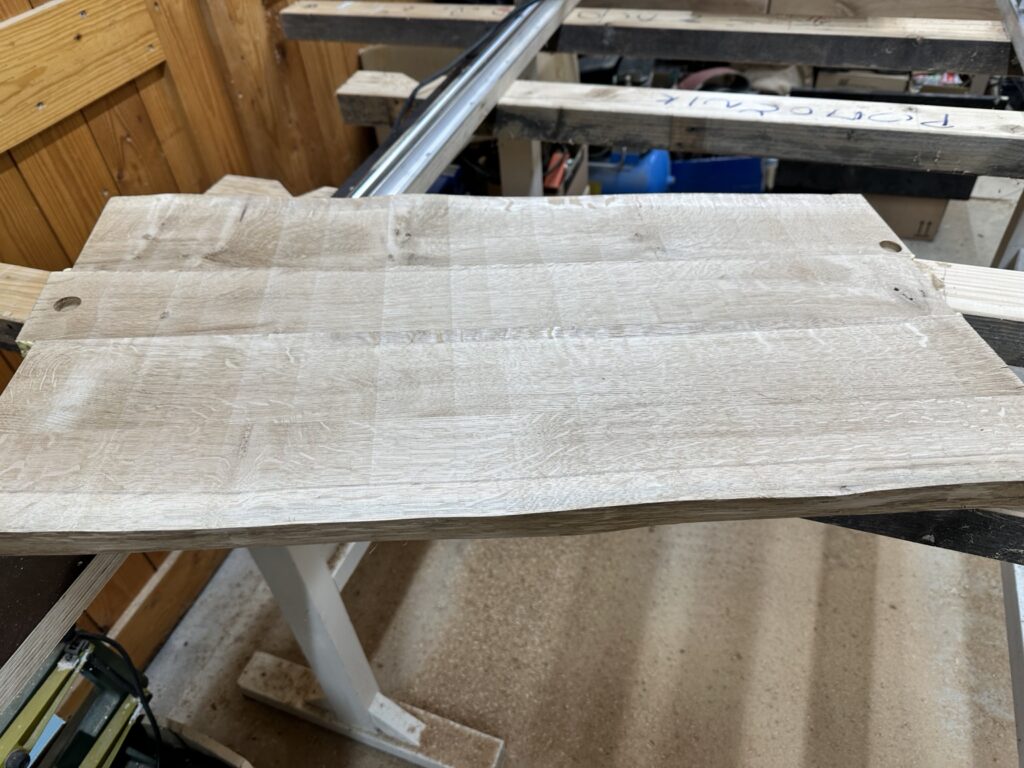
The close-up photographs show the tracks left by successive passes of the cutter. The surface is machined gradually until the high areas have been removed and a common plane has been established.
During this test, the jig proved extremely accurate. That is the most important result for me: I can machine a larger workpiece in my own workshop while maintaining a clear view of the process.
The photographs also show the difference between a flattened surface and a finished one. Cutter marks belong to this stage of the build; further finishing is still required before the board is ready for use.
Flattening and sanding do different jobs
Routing establishes a plane. Subsequent sanding removes machining marks and prepares the surface for the chosen finish. On a wide panel, the distinction matters: spending a long time sanding does not, by itself, guarantee a flat surface across the whole piece.
If two parallel faces are required, the first flattened face provides the reference for machining the second. Turn the workpiece over, support it securely on a flat base, and machine the opposite face. The WoodWorkers Guild of America describes this process and the removal of cutter tracks afterwards.
This approach takes time. The jig needs to be assembled and checked, and the workpiece machined in several passes. For a home woodworker who occasionally makes larger pieces, however, the flexibility is a major advantage.
Tools, chips and working space
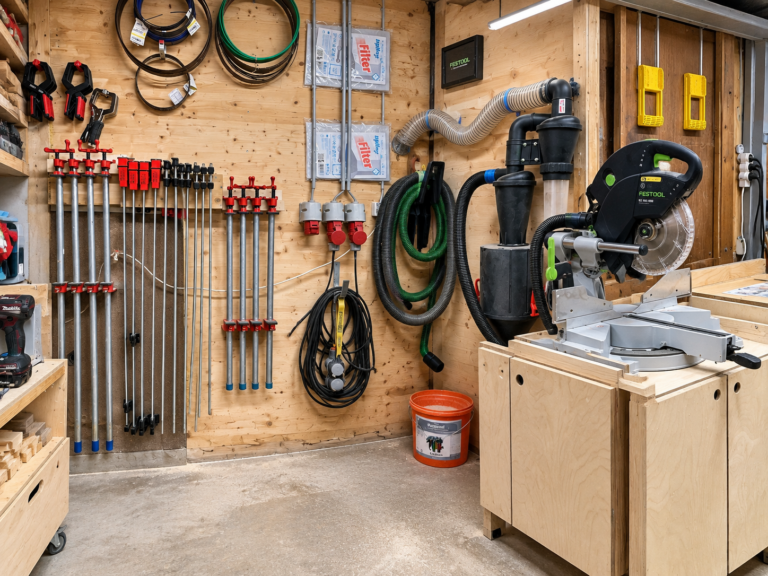
Flattening a wide surface produces plenty of chips and dust, making extraction an important part of preparing the work area. The power cable and extraction hose also need to be routed so that they do not obstruct the carriage.
Spindle speed and cutting depth depend on the particular cutter, router and material. Follow the manufacturers’ instructions and use eye and hearing protection. A wide cutter needs an appropriate speed setting; the router’s maximum speed is not automatically suitable for every bit. The same WoodWorkers Guild of America article highlights this point.
The next challenge: a 250 × 100 centimetre oak table
The cutting board was a test of the jig. My next planned project is a solid oak kitchen table, two and a half metres long and one metre wide.
With a panel of that size, rail span, cross-slide rigidity and solid support across the whole workpiece become particularly important. Before starting, I will need to set up the jig for the tabletop and check its flatness and stability again.
These are exactly the projects I built it for. I want to be able to machine larger pieces of wood at home with equipment that can be adapted to the task. The first test was successful; the oak table will give the sled its next major job.
Components and tools used
Below are links to the components and tools used in my setup:
The Amazon.de links are affiliate links. If you make a purchase through them, I may receive a commission at no additional cost to you.